¶ Overview
Within the Voice of Norway's application, each location is referred to as a "point," which can either belong to a particular route or exist as a standalone entity within a company's collection of points of interest.
Each point can be associated with multiple categories to provide users with a more comprehensive understanding of its purpose and context. Users have the option to mark points as favourites for future reference and can access point descriptions in multiple languages for increased accessibility.
Points can also contain multiple images and one audio file that can be played within the app. Additionally, points can be geographically defined, allowing for the activation of recordings to begin playing automatically when users enter a particular region.
By utilising points, the Voice of Norway application offers users a granular level of detail and information about each location, whether as part of a larger route or as a standalone attraction. The ability to provide descriptions in multiple languages and play audio files enhances the application's accessibility and usability for a diverse user base.

- New: Users can create new points using this feature.
- Export: Users can export their points to a different file format or service.
- Delete: Users can select and delete one or more points using this feature.
- Share: Users can make their points available to other companies by using this feature.
- Search: Users can use the search bar to find specific points.

In the "Points" section, the following columns are displayed:
- ID: The unique identifier of the point.
- Status: The current status of the point (e.g., active, inactive).
- Name: The name or title of the point.
- Remote: Indicates whether the point can be activated remotely, even if the user is not within range.
- Privacy: Specifies the privacy settings of the point (e.g., public or hidden).
- Place: The physical location associated with the point.
- Route: The route to which the point belongs.
- Category: The category or classification of the point.
- Updated: The date and time when the point was last updated.
- Shareable: Indicates whether the point can be shared with other companies or entities.
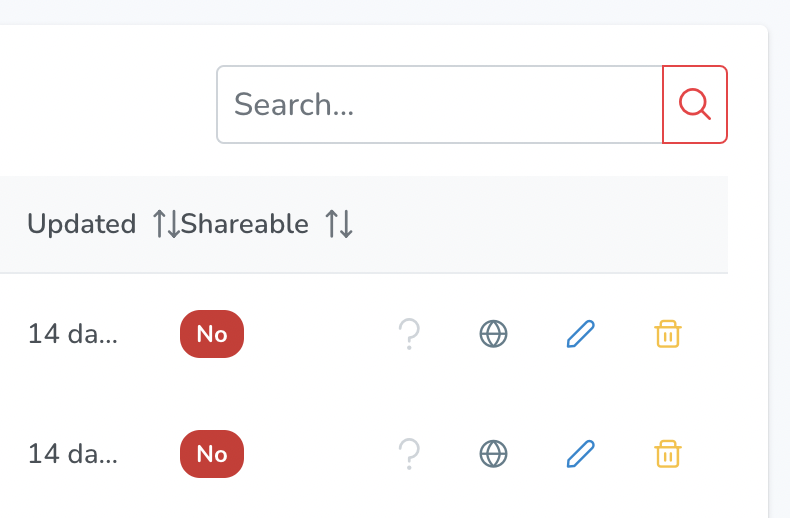
Under the list of points, the created points are accompanied by the following indicators/buttons:
- Indicator for Quiz Questions: This indicator is highlighted if the point has associated quiz questions. It signifies that there is a quiz component associated with the point.
- Languages Indicator: This indicator provides information about the languages available for the point. Hovering over the indicator reveals the specific languages supported by the point.
- Edit Button: Clicking on this button allows users to edit the details and settings of the respective point.
- Delete Button: Clicking on this button initiates the deletion process for the corresponding point.
¶ BASIC INFO
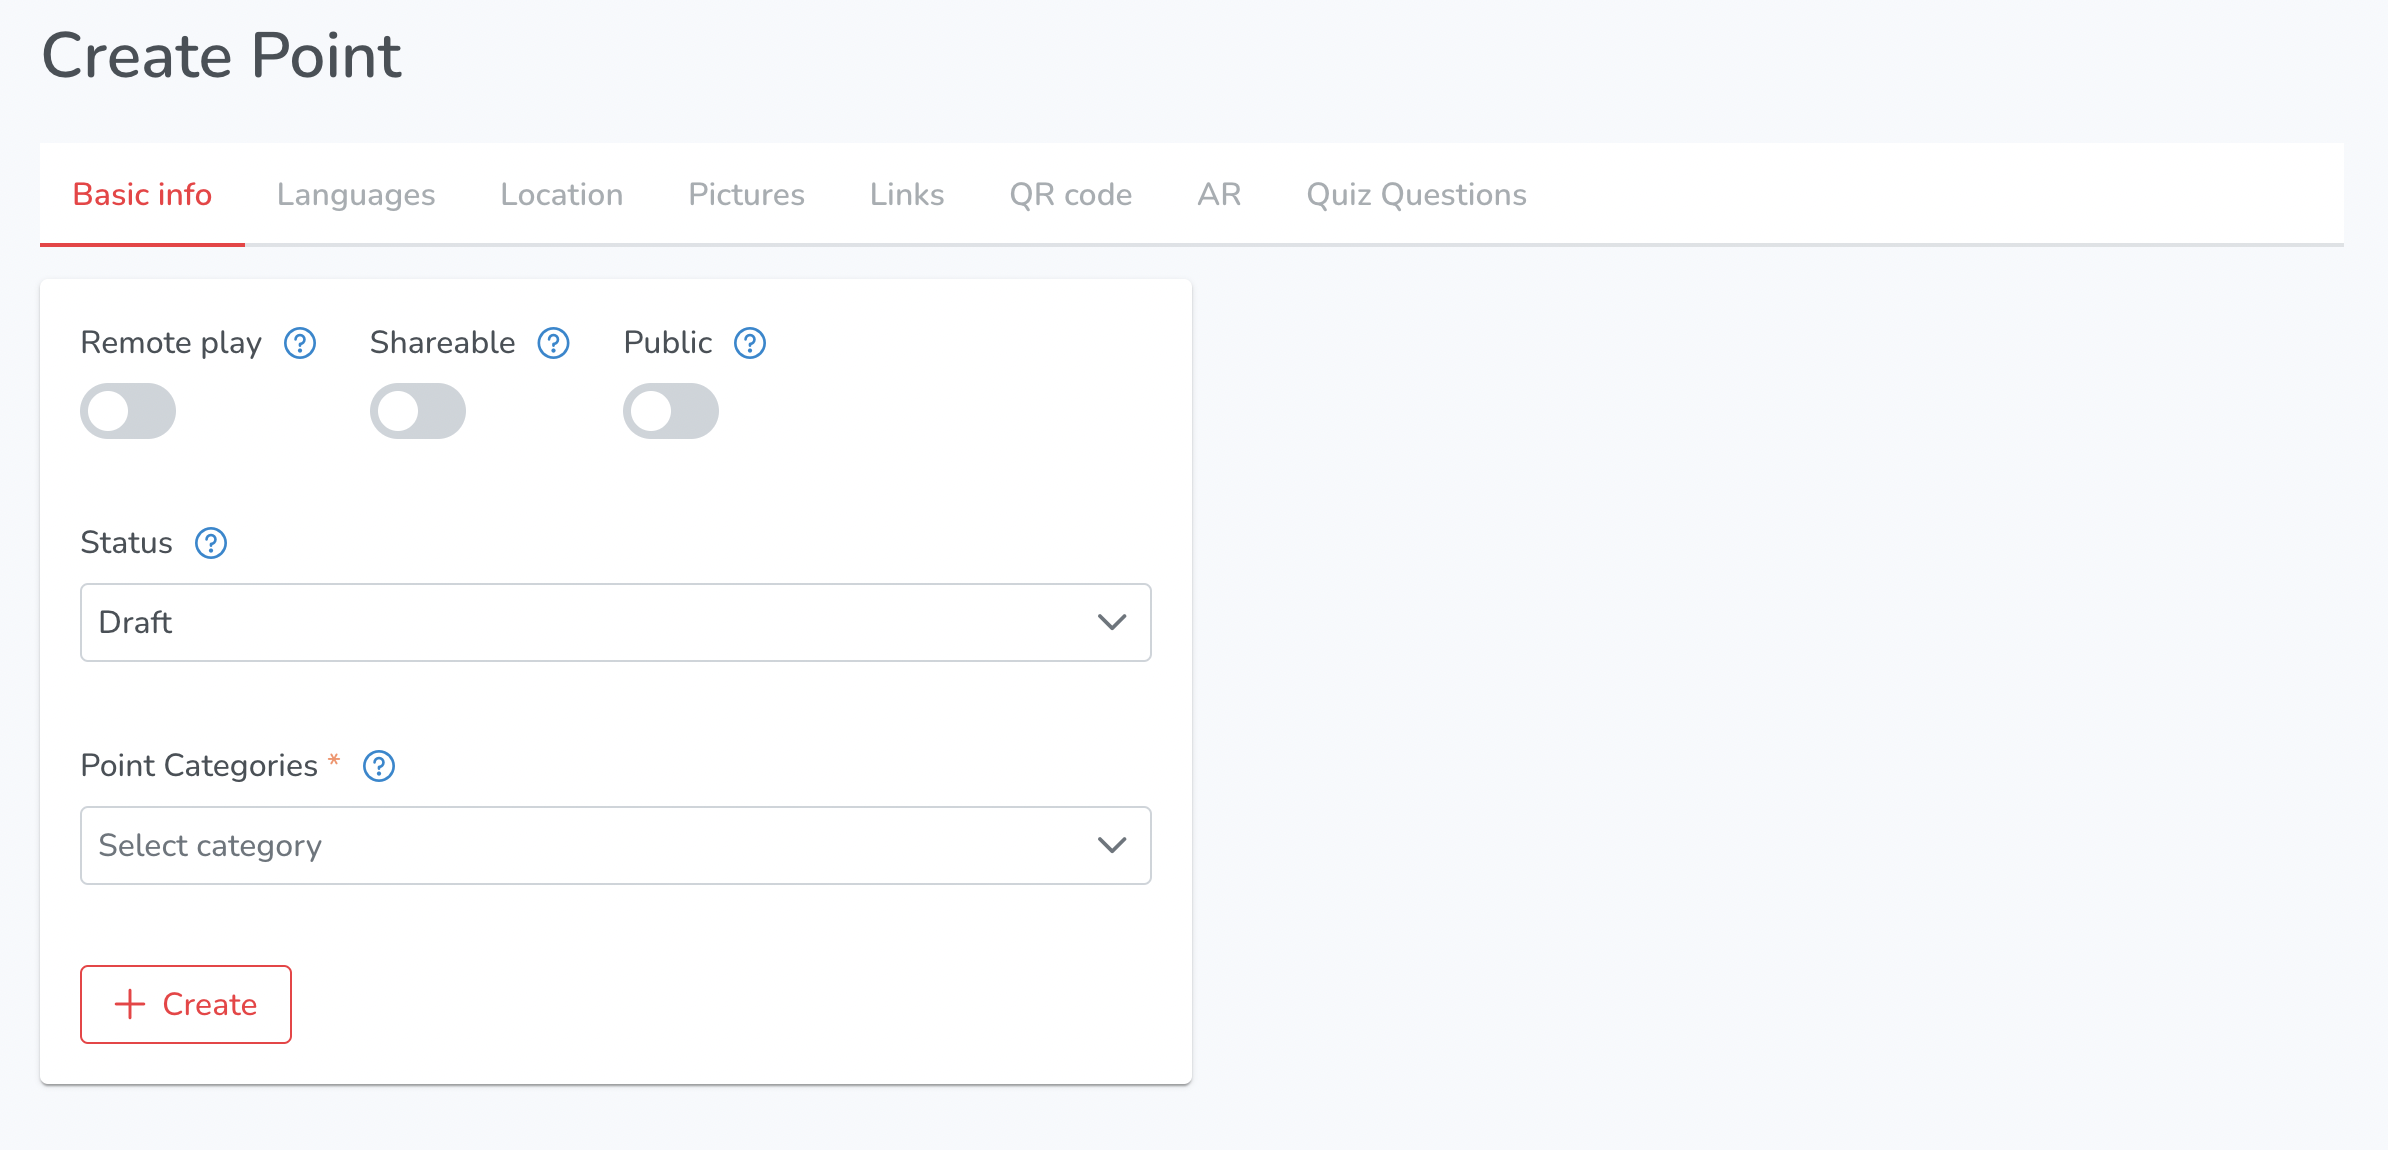
When creating new points, users have various options available to them:
- Remote Play: When enabled, content can be activated even if the user is not within the range of the point.
- Shareable: Users can make points available to other companies, allowing them access to the content.
- Public/Private: In the application's Auto mode, all public points will be visible to users. However, private points will only be accessible on a downloaded route.
Users can also assign a status to their points:
- Published: Points with this status are visible in the Publisher and mobile app for users to access.
- Draft: Points in the draft status are new and visible only in the Publisher. They are not yet available to users in the mobile app.
- Deactivated: Points with this status are only visible in the Publisher. They are not accessible to users in the mobile app.
Additionally, users can assign categories to their points, specifying which category the point belongs to.
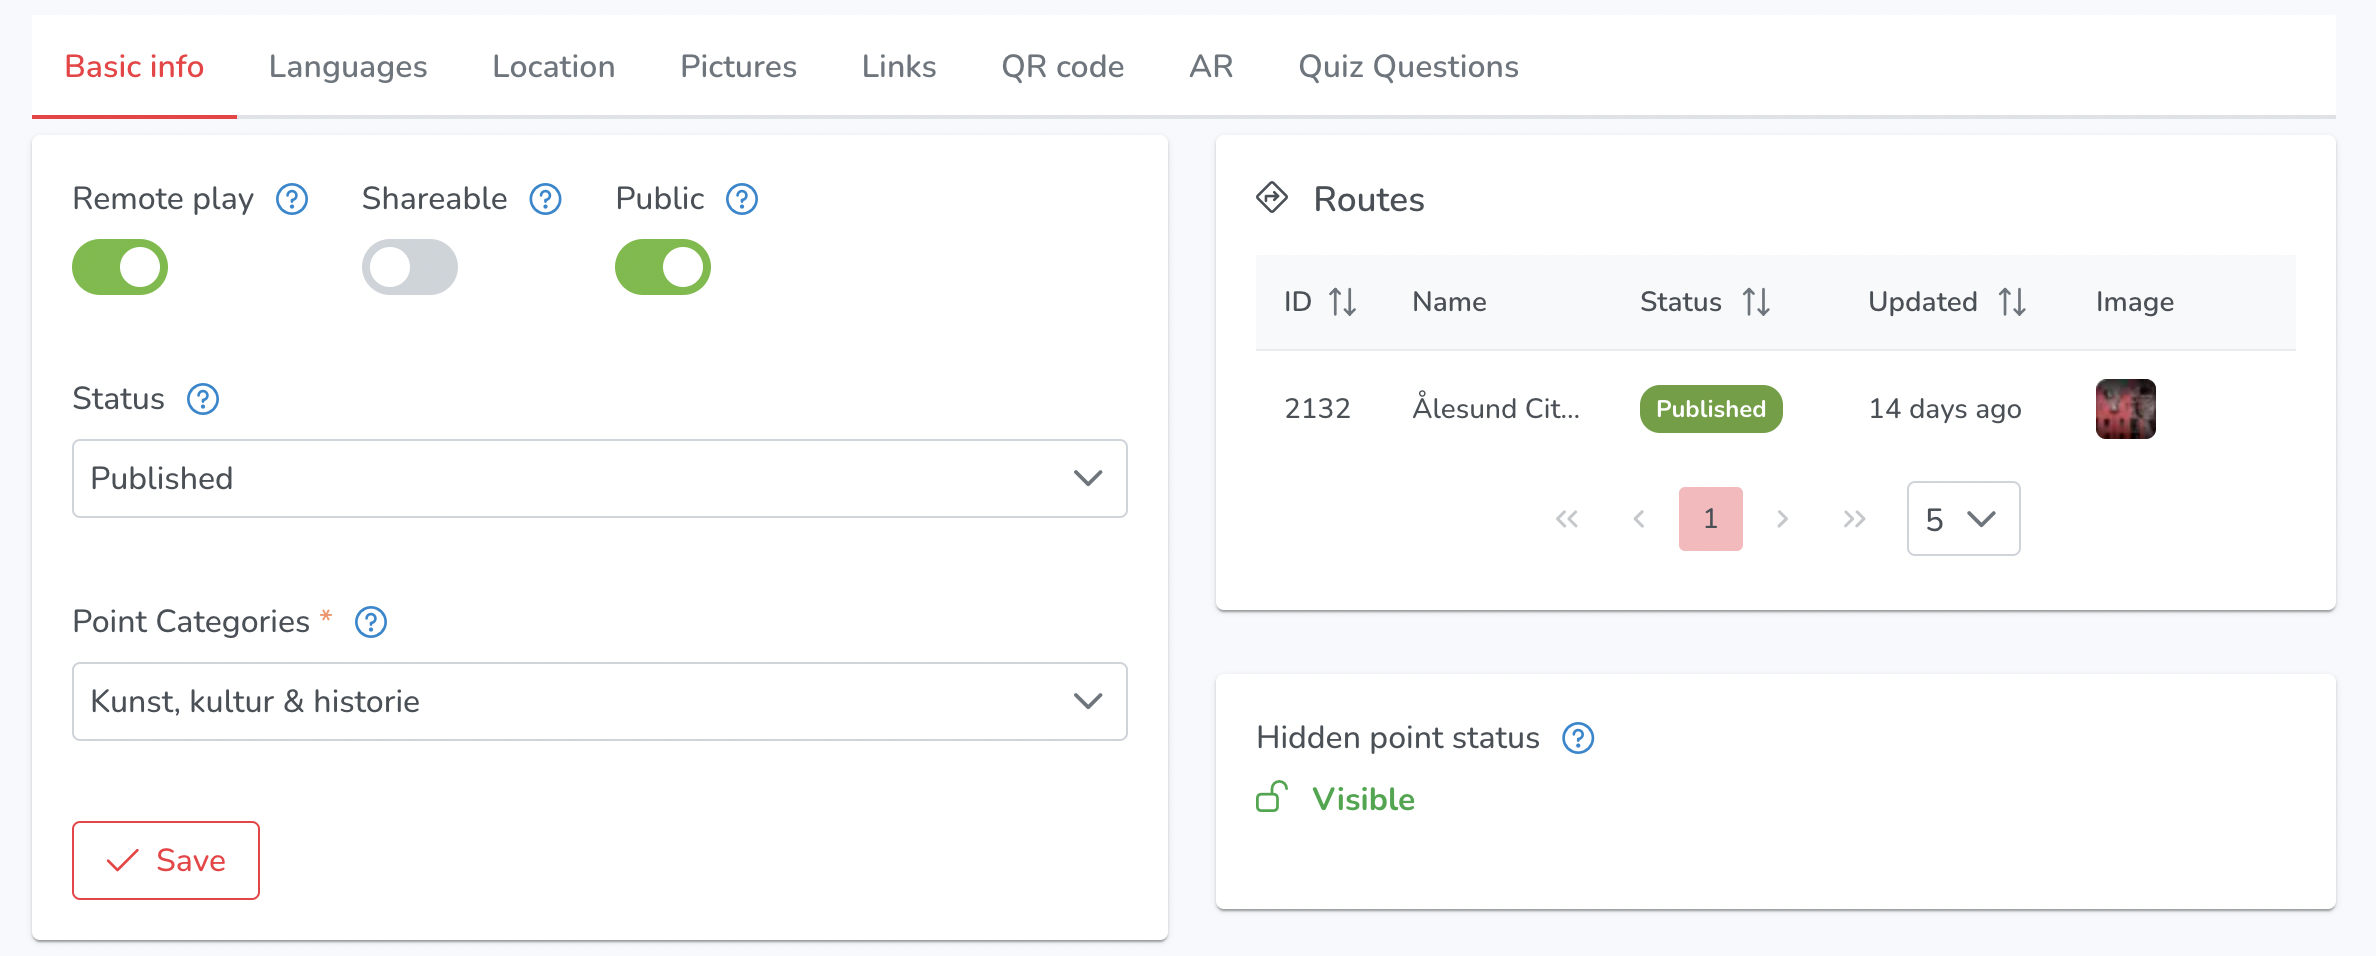
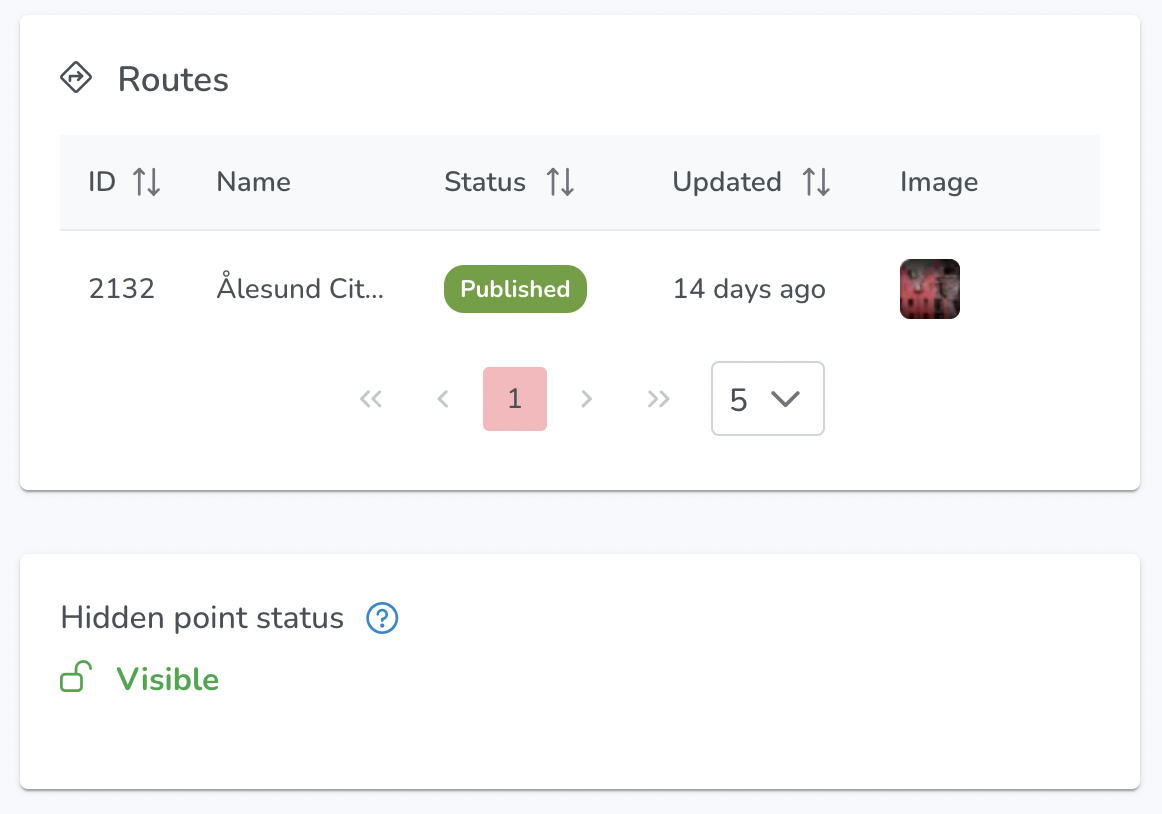
Already created points have ‘Routes’ section where users can see all routes that are associated with the point.
Also, there is a hidden point status indicator below.
Routes are hidden if they are either sellable or have links with expiry dates and/or maximum usages.
¶ LANGUAGES

Add Language: Once a point is created, users will be prompted to add a language to begin filling in the details and description of the point.
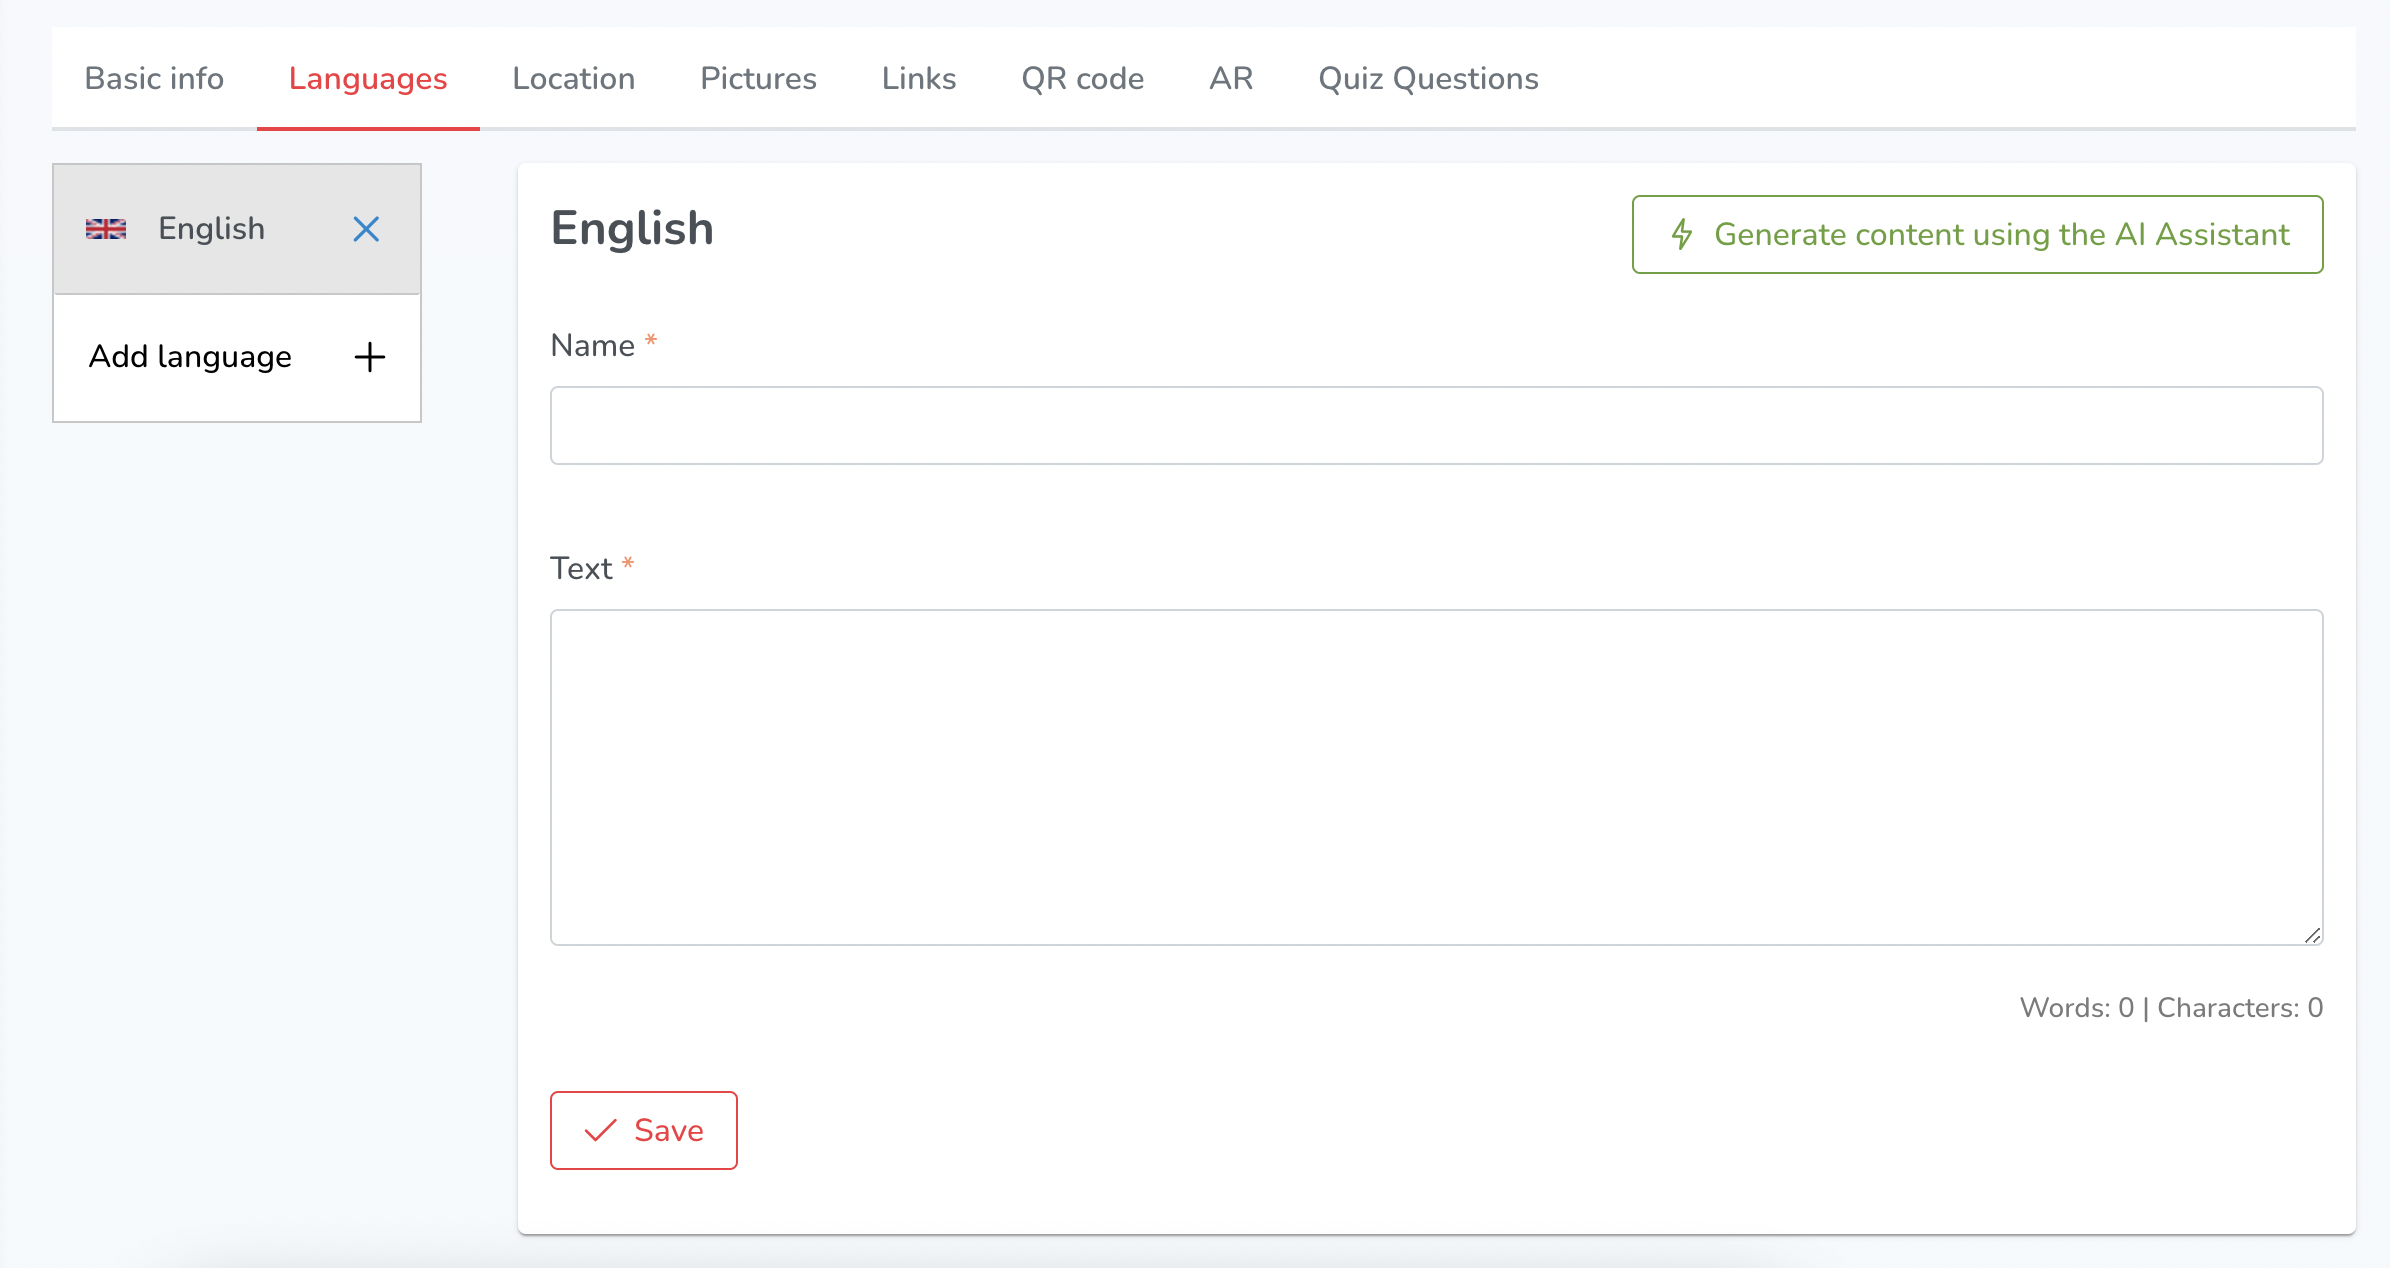
The Languages section allows users to add and manage descriptive text in different languages for their content. It includes the following features:
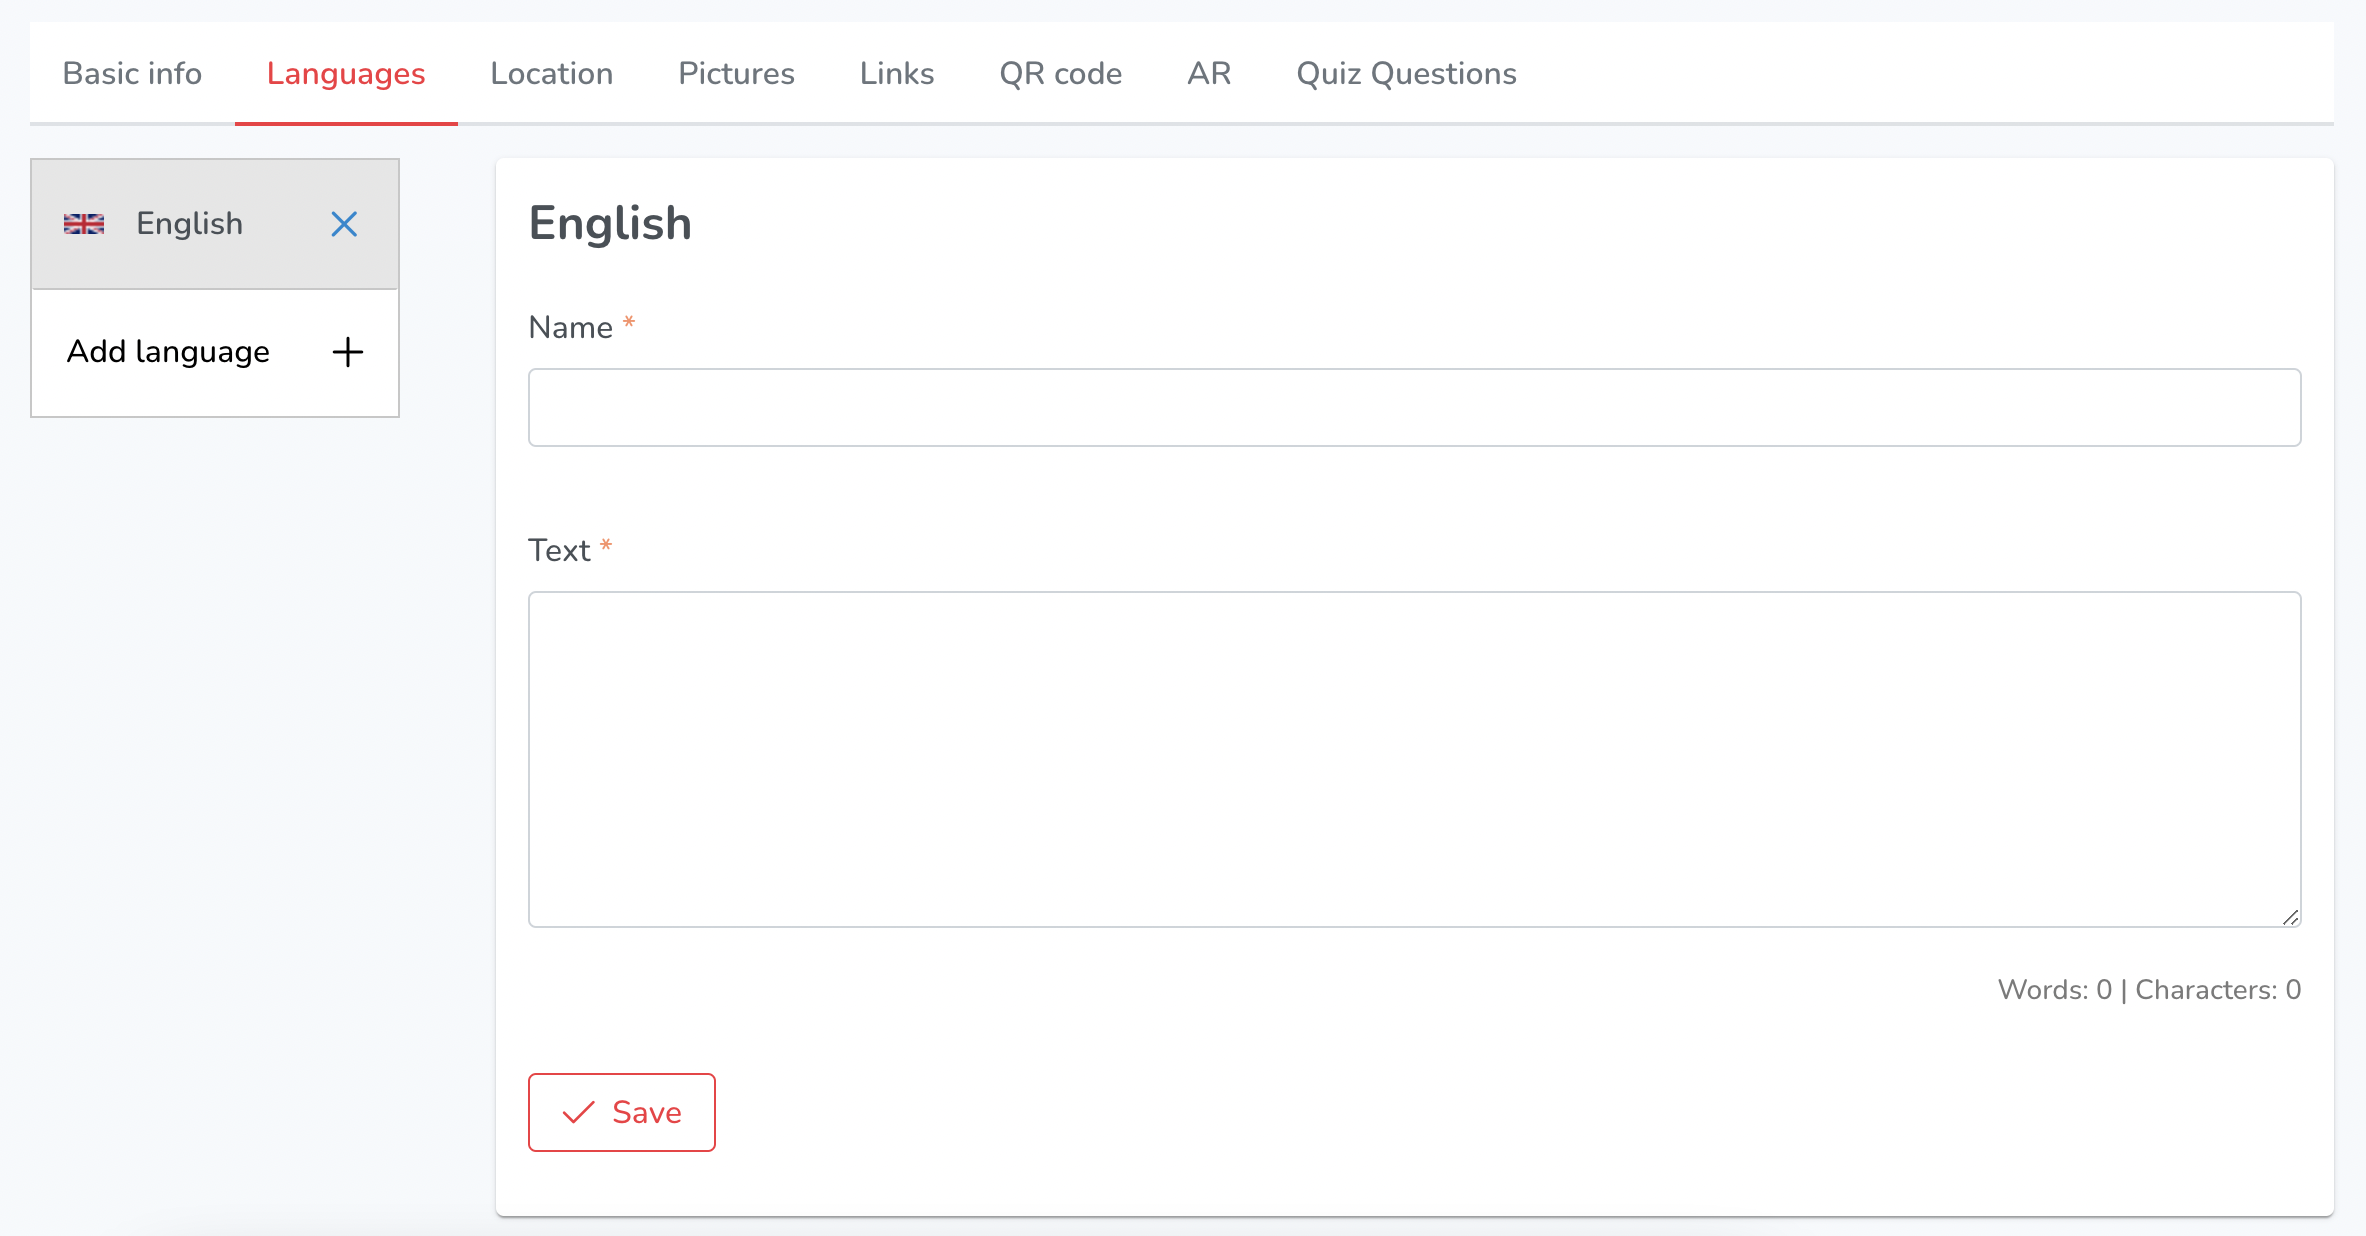
- Name: Users can enter the name of their content for each language they want to add
- Text: Users can enter descriptive text for their content in each language they want to add.
- Save: Users can save changes made to the name and descriptive text.
- Word Count/Character Count: The section displays the word count and character count for the descriptive text entered by the user.
- Add (Another) Language: Users can add another language by clicking on the "Add Language" button. This allows them to enter the name and descriptive text for their content in a new language.
- AI Assistant (Super Admin): Super Admins have the option to generate descriptive text using an AI Assistant.
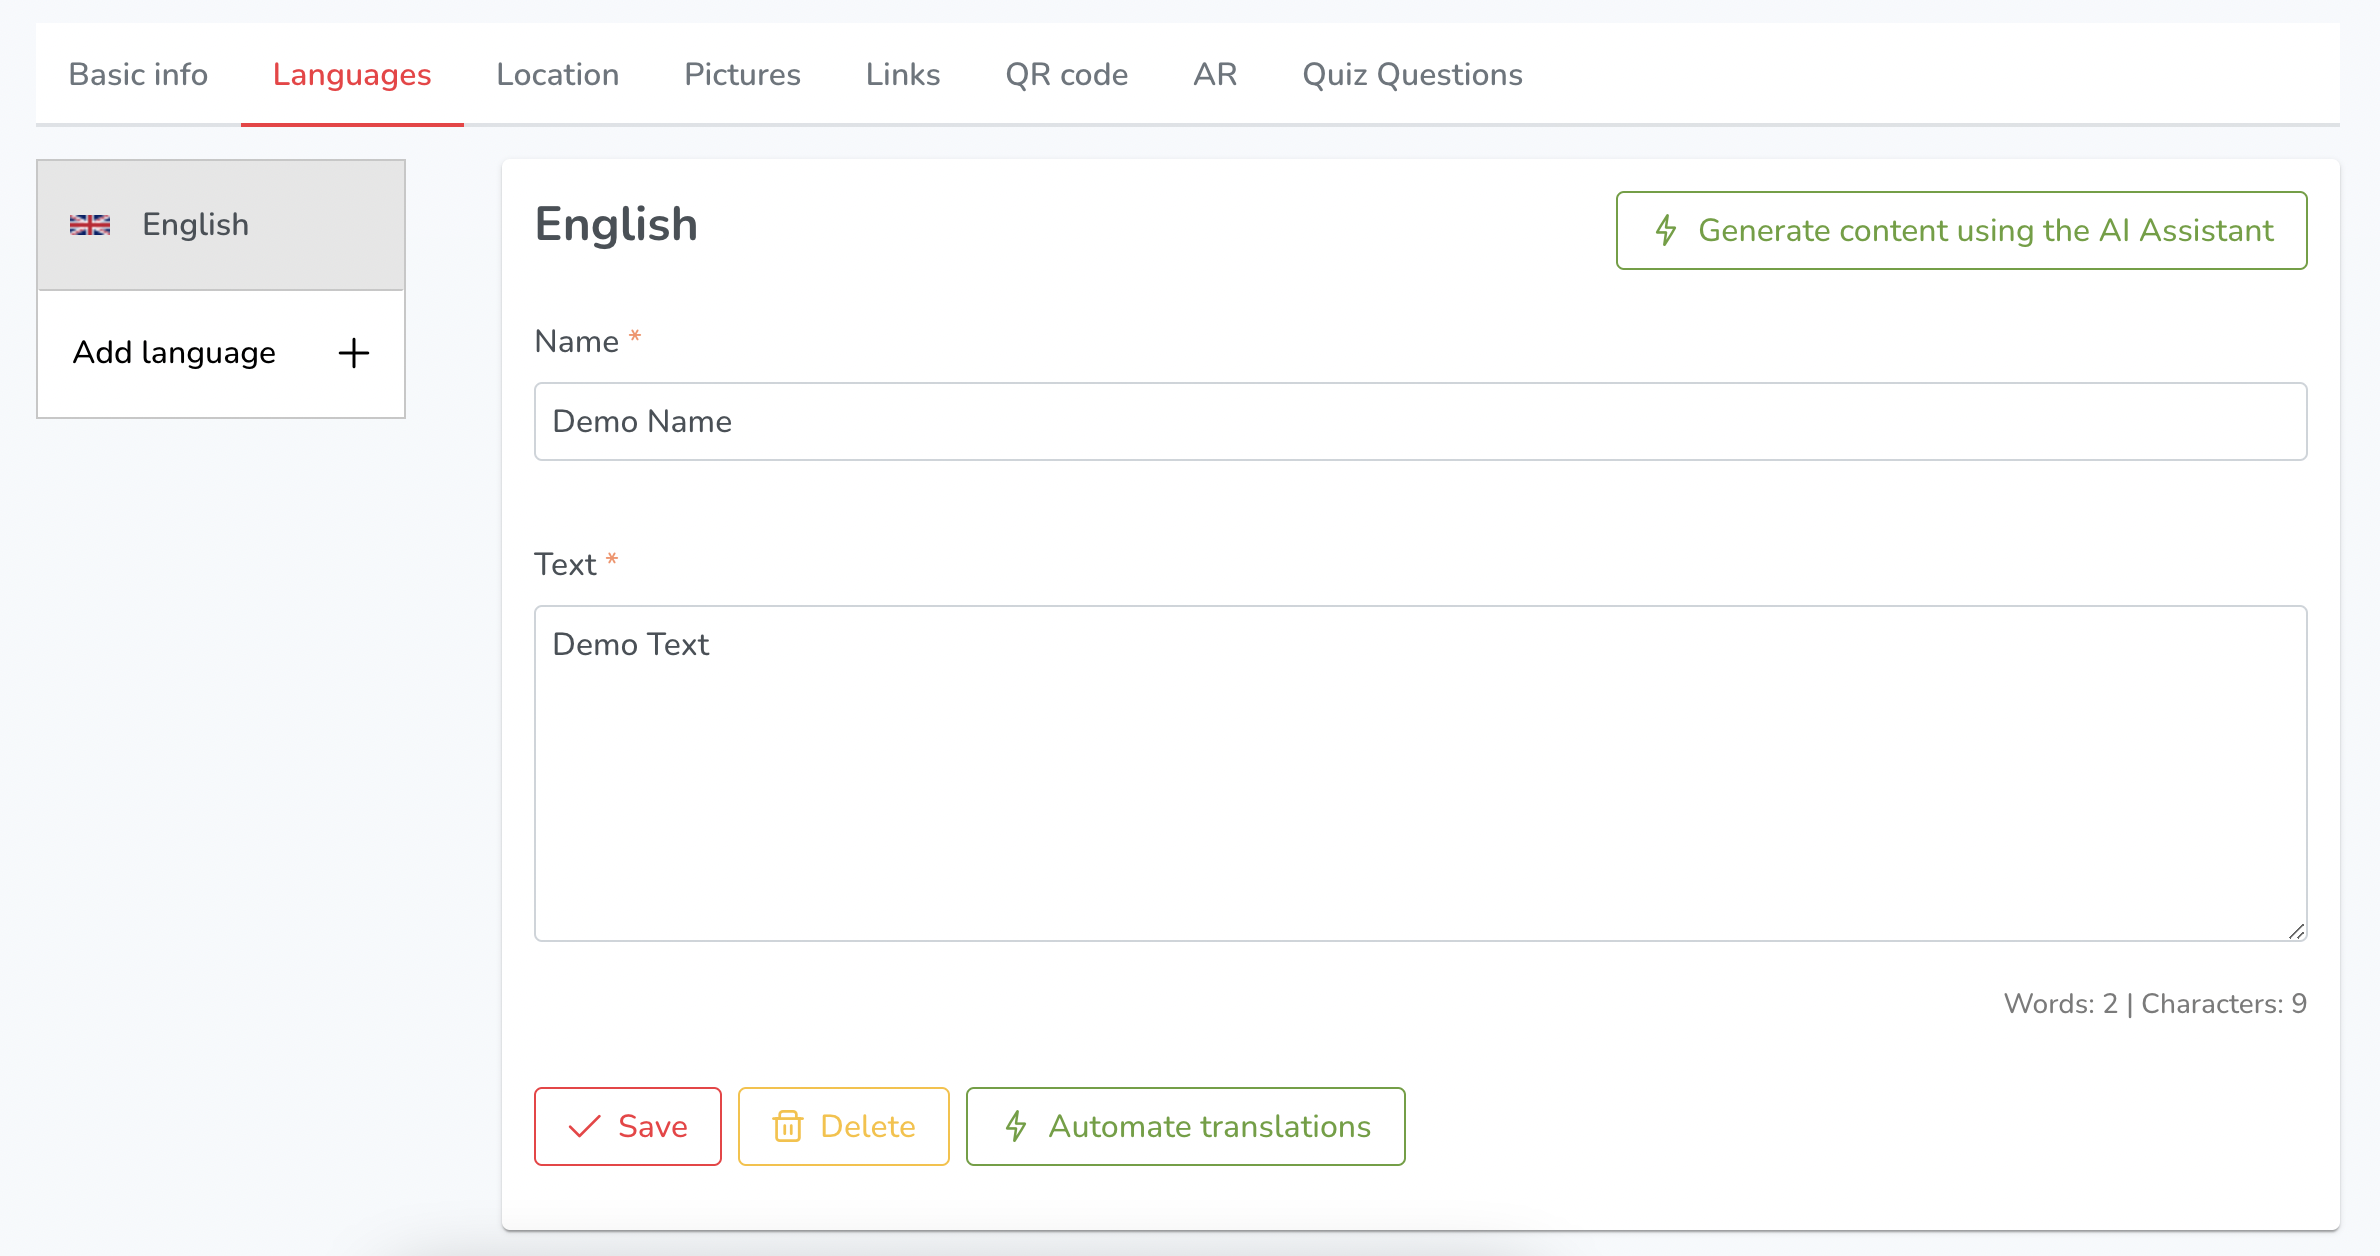
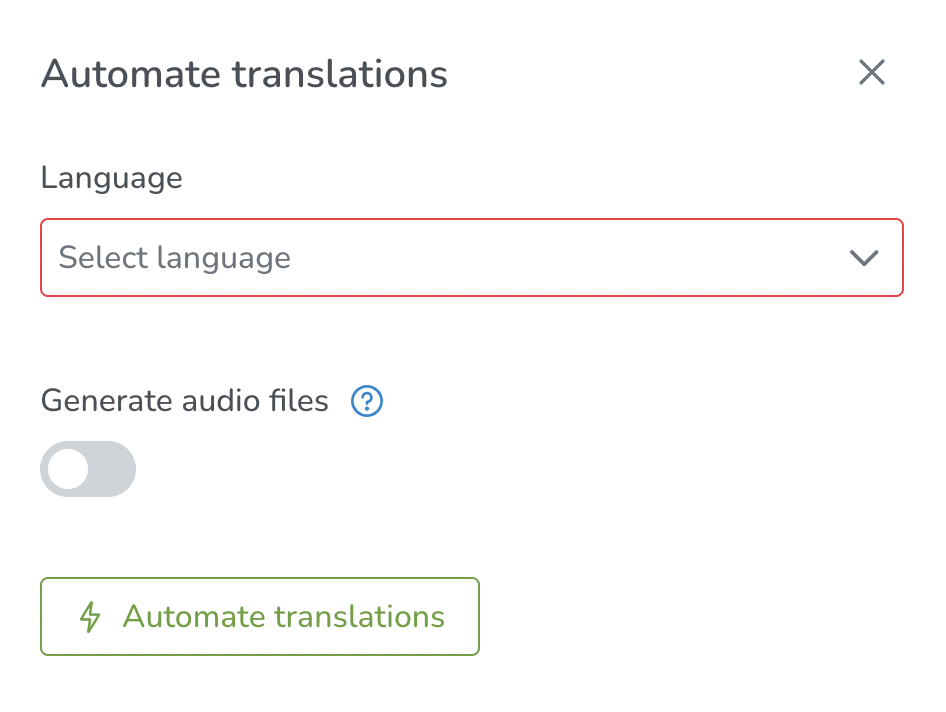
In the super admin view, there is an AI "Automate Translations" button available.
This button allows super admins to select multiple languages and automate the translation process for all of them.
Additionally, there is an option to enable the "Generate Audio Files" button, which generates audio files based on the translated text.
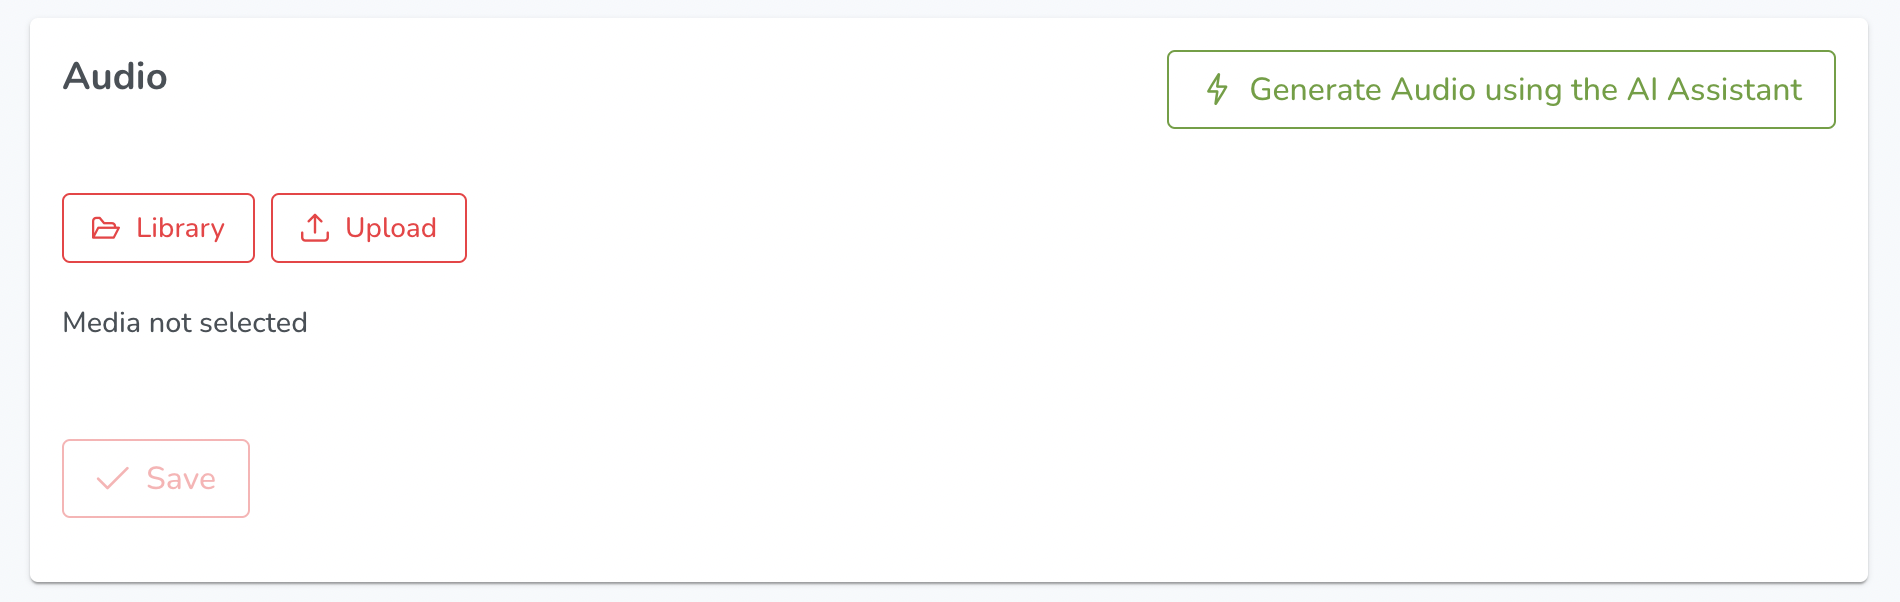
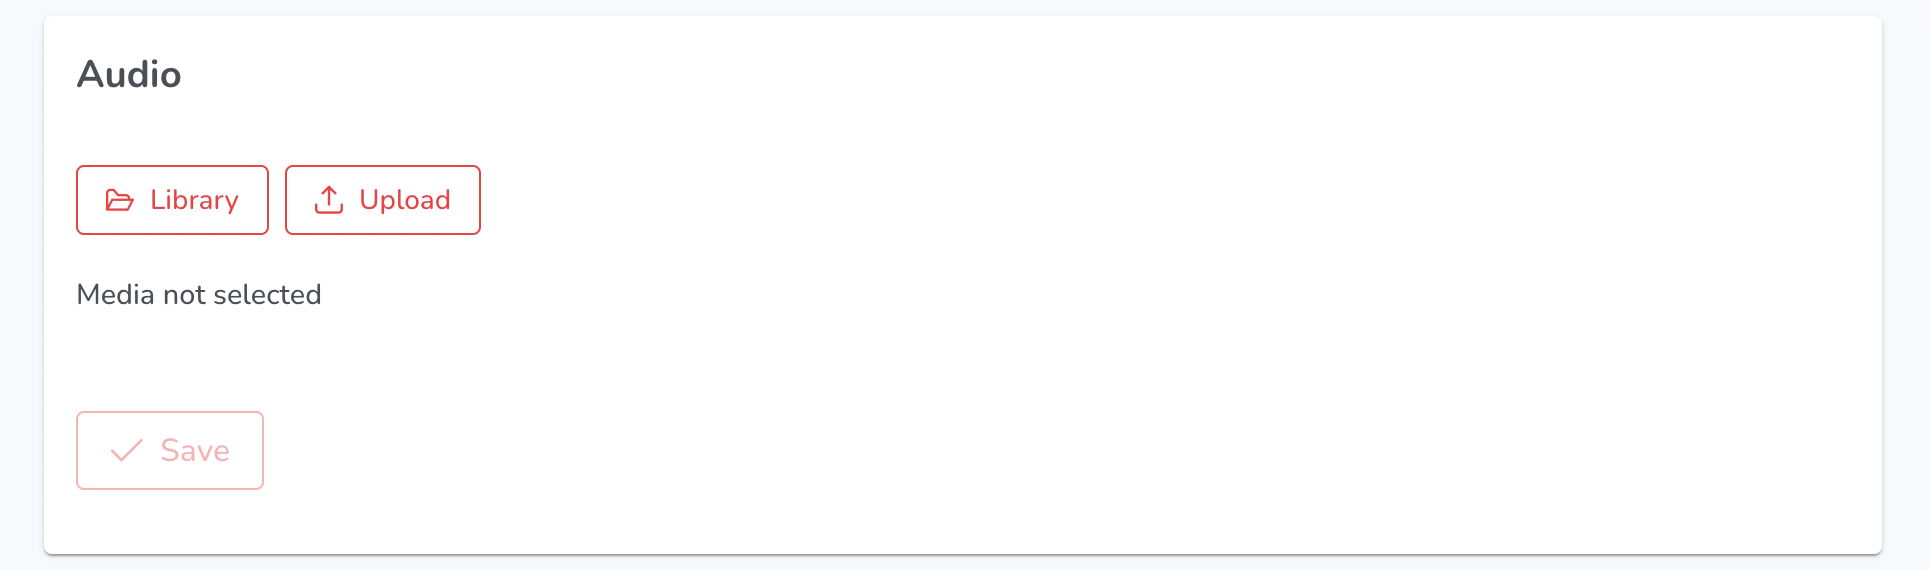
The Audio section offers various options for uploading and managing audio content:
- Library: Users can access a media library to select and upload audio files.
- Upload: Users can upload audio files from their device or other sources such as Google Drive, Dropbox, and Unsplash. They can also use the drag and drop function.
- Save: Users can save changes made to the audio files.
- Generate Audio using the AI Assistant (Super Admin): Super Admins have the option to generate audio content using an AI Assistant.
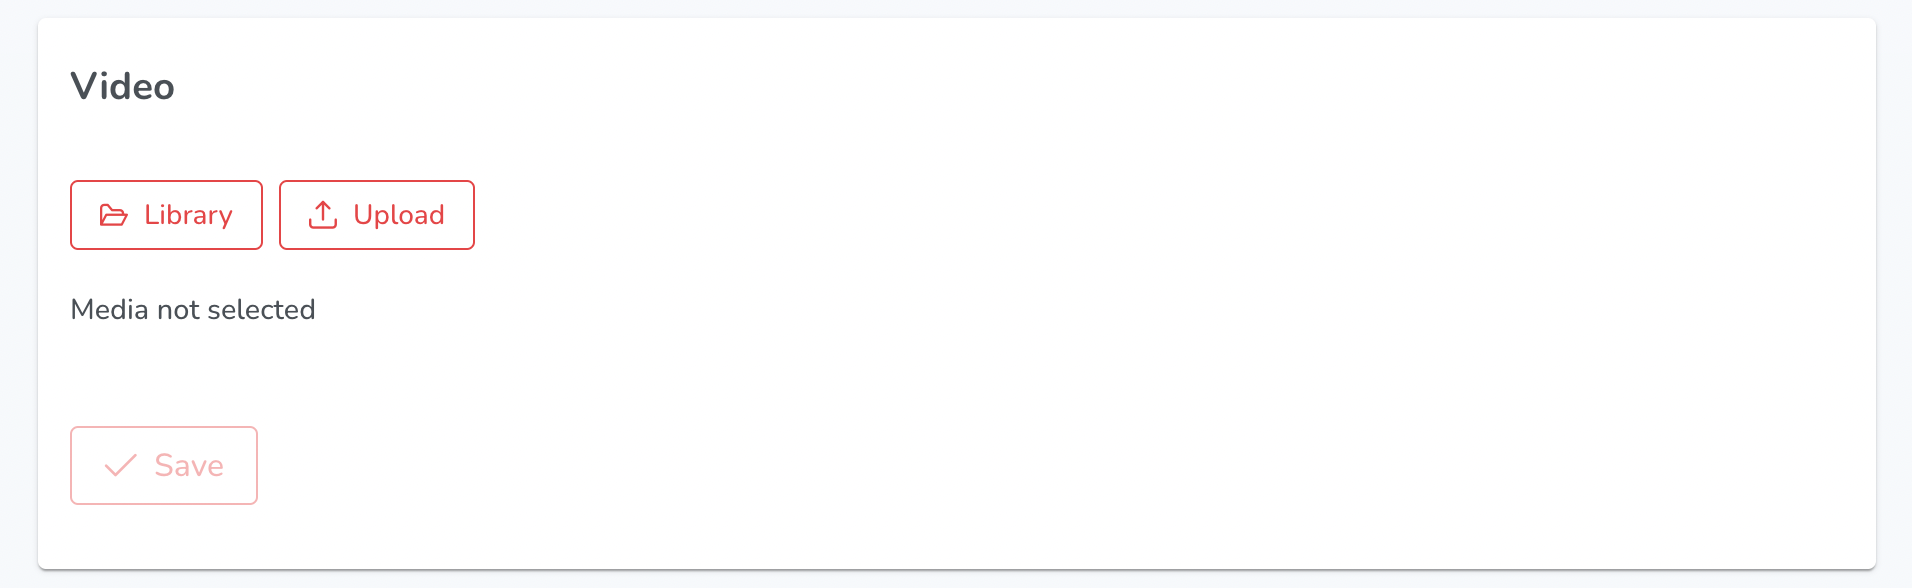
The Video section offers various options for uploading and managing audio content:
- Library - Users can select from previously uploaded videos in the media library
- Upload - Users can upload videos via My Files, Web Address, Camera, Google Drive, Dropbox, or Browse. They also have the option to drag and drop files.
- Save - Users can save their changes and updates to the video.
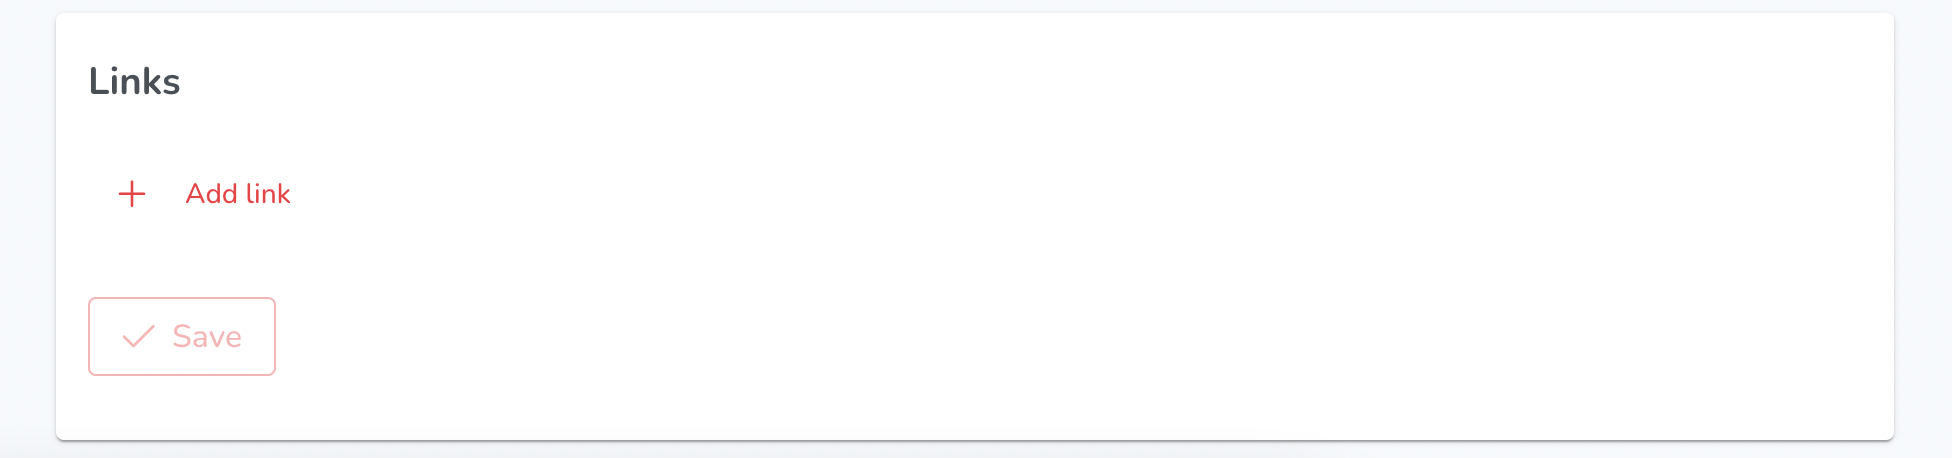
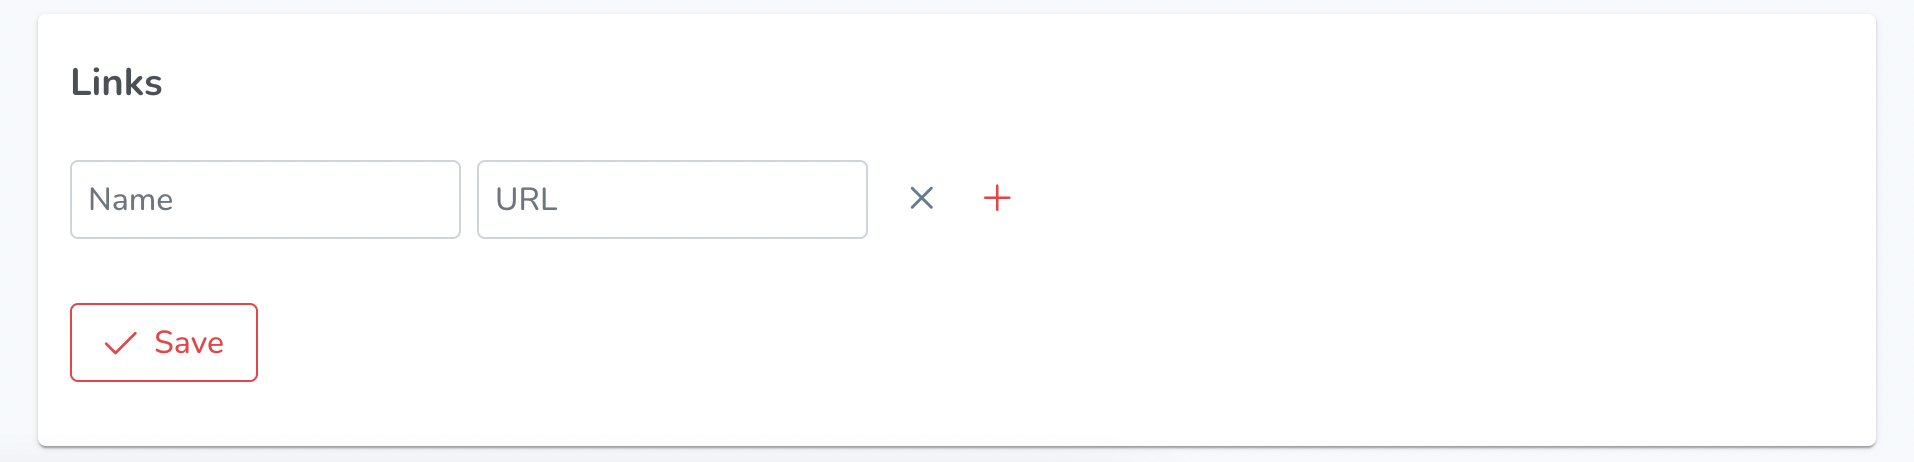
- Add link - Users can add URLs and give them custom names for easy reference.
- Save - Users can save their changes and updates to the Links section
¶ LOCATION
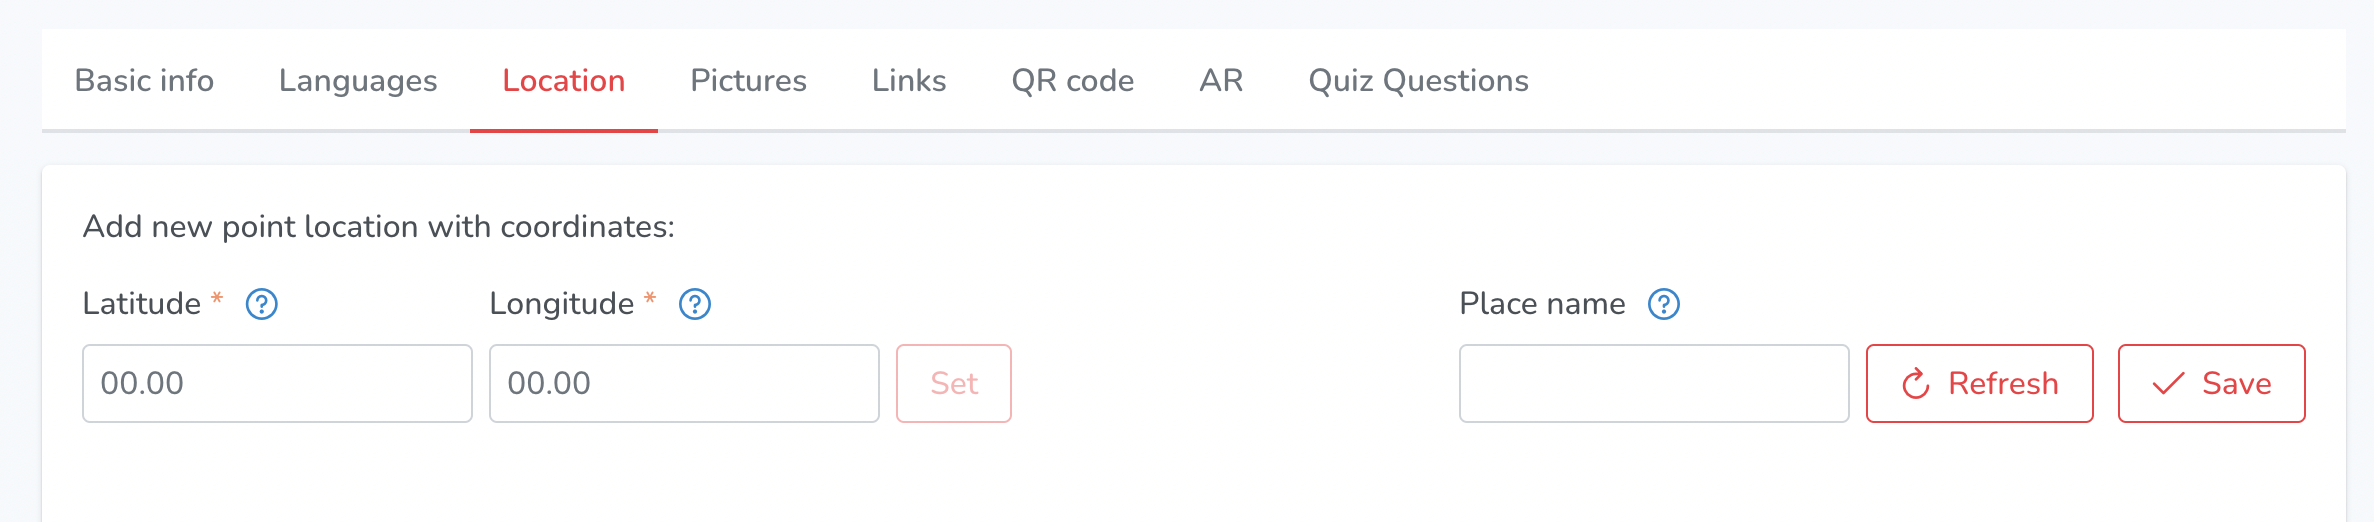

When editing a point's location, users are presented with a variety of options to customise the point's geographic coordinates and associated information.
To specify a new point location, users can input the desired latitude and longitude values in the corresponding fields. Once the values are entered, they can click the "Set" button to apply the new location to the point.
Alternatively, users have the option to input the name of a specific location in the "Place name" field. By clicking the "Refresh" button, the system will automatically populate the name of the place based on the provided coordinates.
Once the location is set, users can then make additional changes and save their edits. The "Save" button allows users to commit their changes and update the point's location information in the system.
In addition to these options, users can also utilise various tools available on the map interface. The "Search" tool enables users to find specific locations on the map by inputting an address or landmark. The "Zoom In" and "Zoom Out" buttons allow users to adjust the map's scale to better view the desired location.
The "Enter fullscreen" option expands the map to full screen mode, while the "Circle" and "Polygon" tools enable users to draw shapes on the map to define specific geographic areas. The "Delete" button allows users to remove any drawn shapes or markers from the map.
Finally, the "Default view" button resets the map to its original view, allowing users to start fresh when making new location edits.
¶ PICTURES
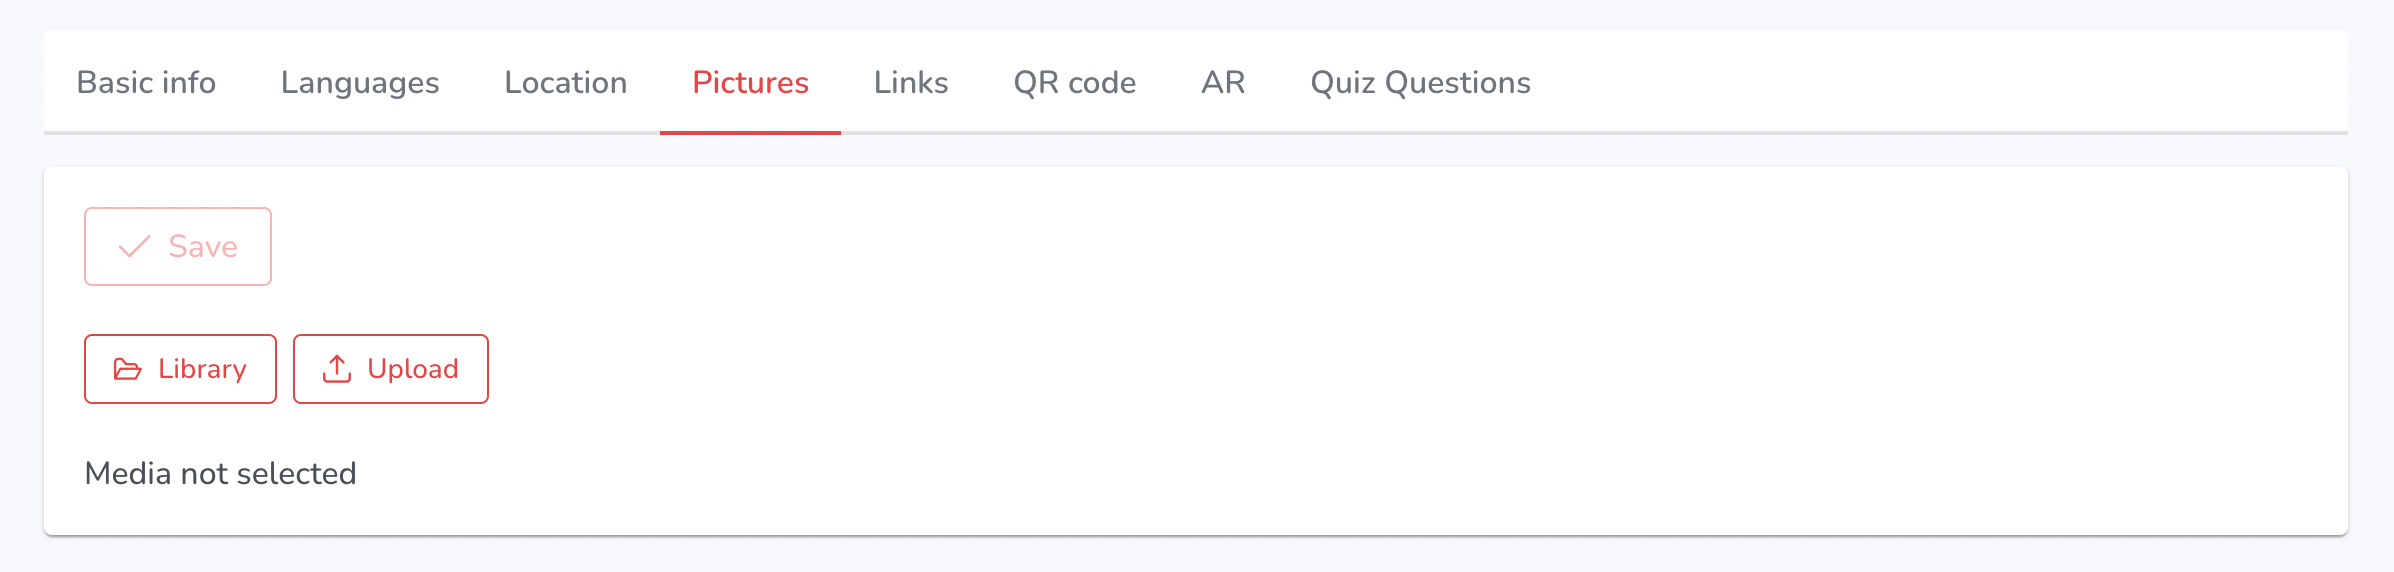
The Pictures section offers users the following options for managing image content
- Library: Users can access a media library to select and upload image files.
- Upload: Users can upload image files from their device or other sources such as Google Drive, Dropbox, and Unsplash. They can also use the drag and drop function.
- Save: Users can save changes made to the image files.
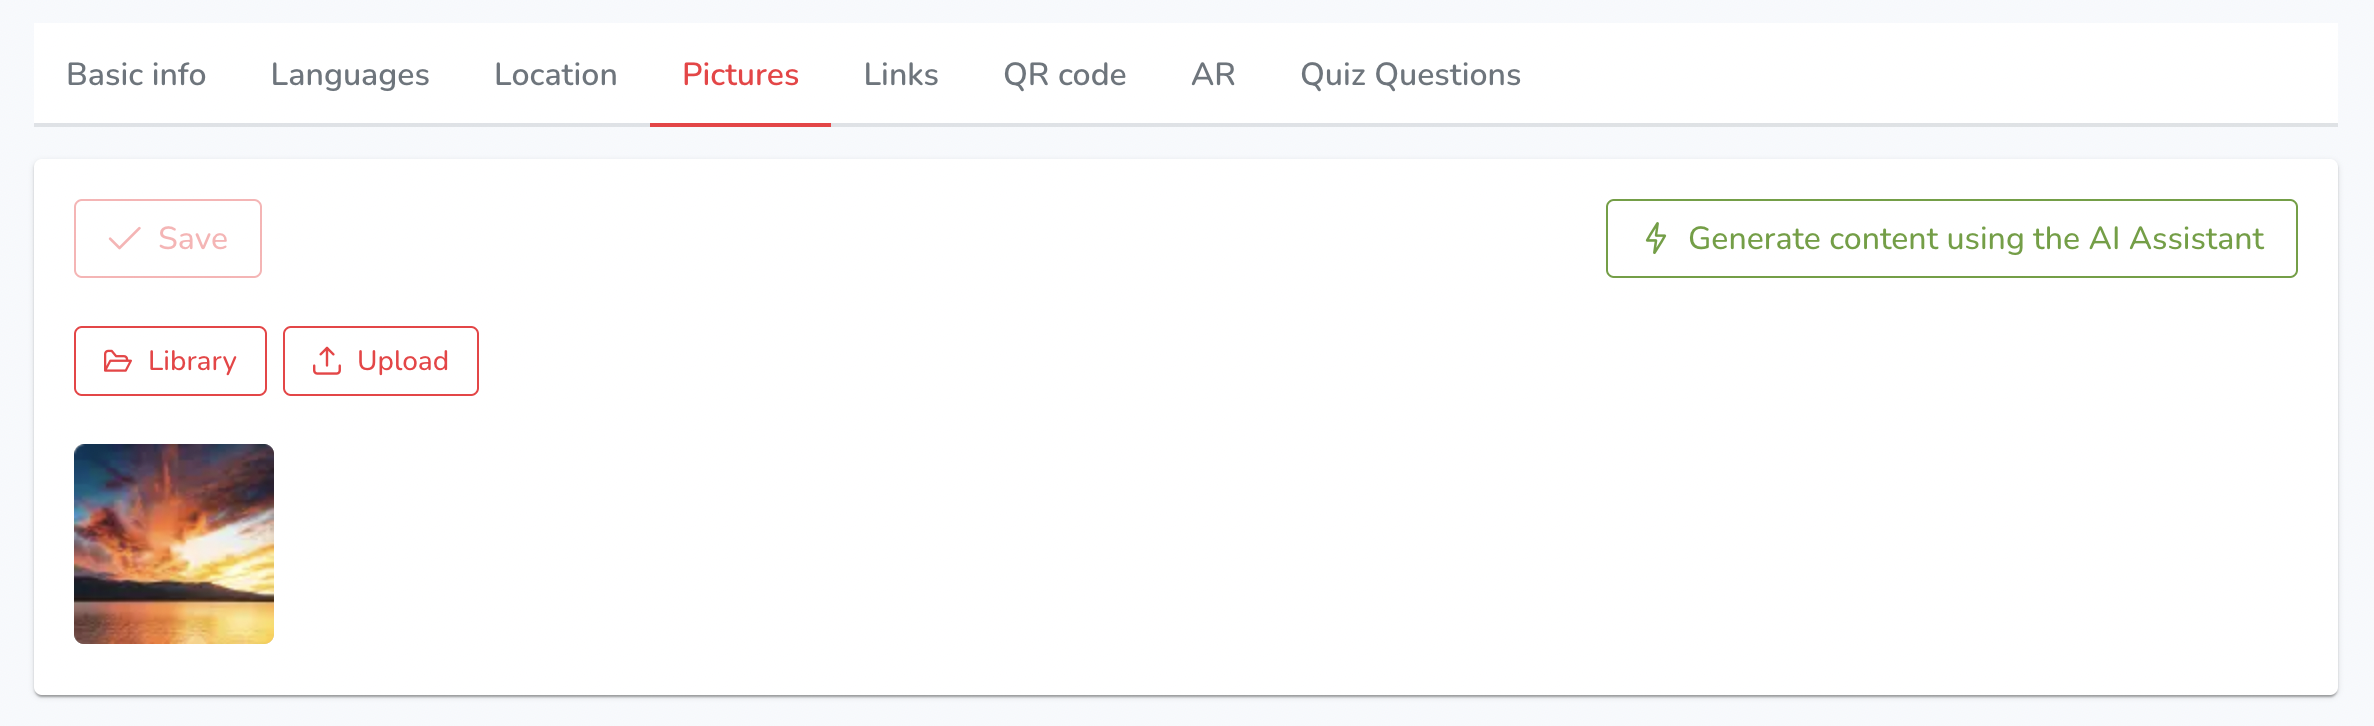
- Generate Pictures using the AI Assistant (Super Admin): Super Admins have the option to generate content using an AI Assistant.
¶ LINKS
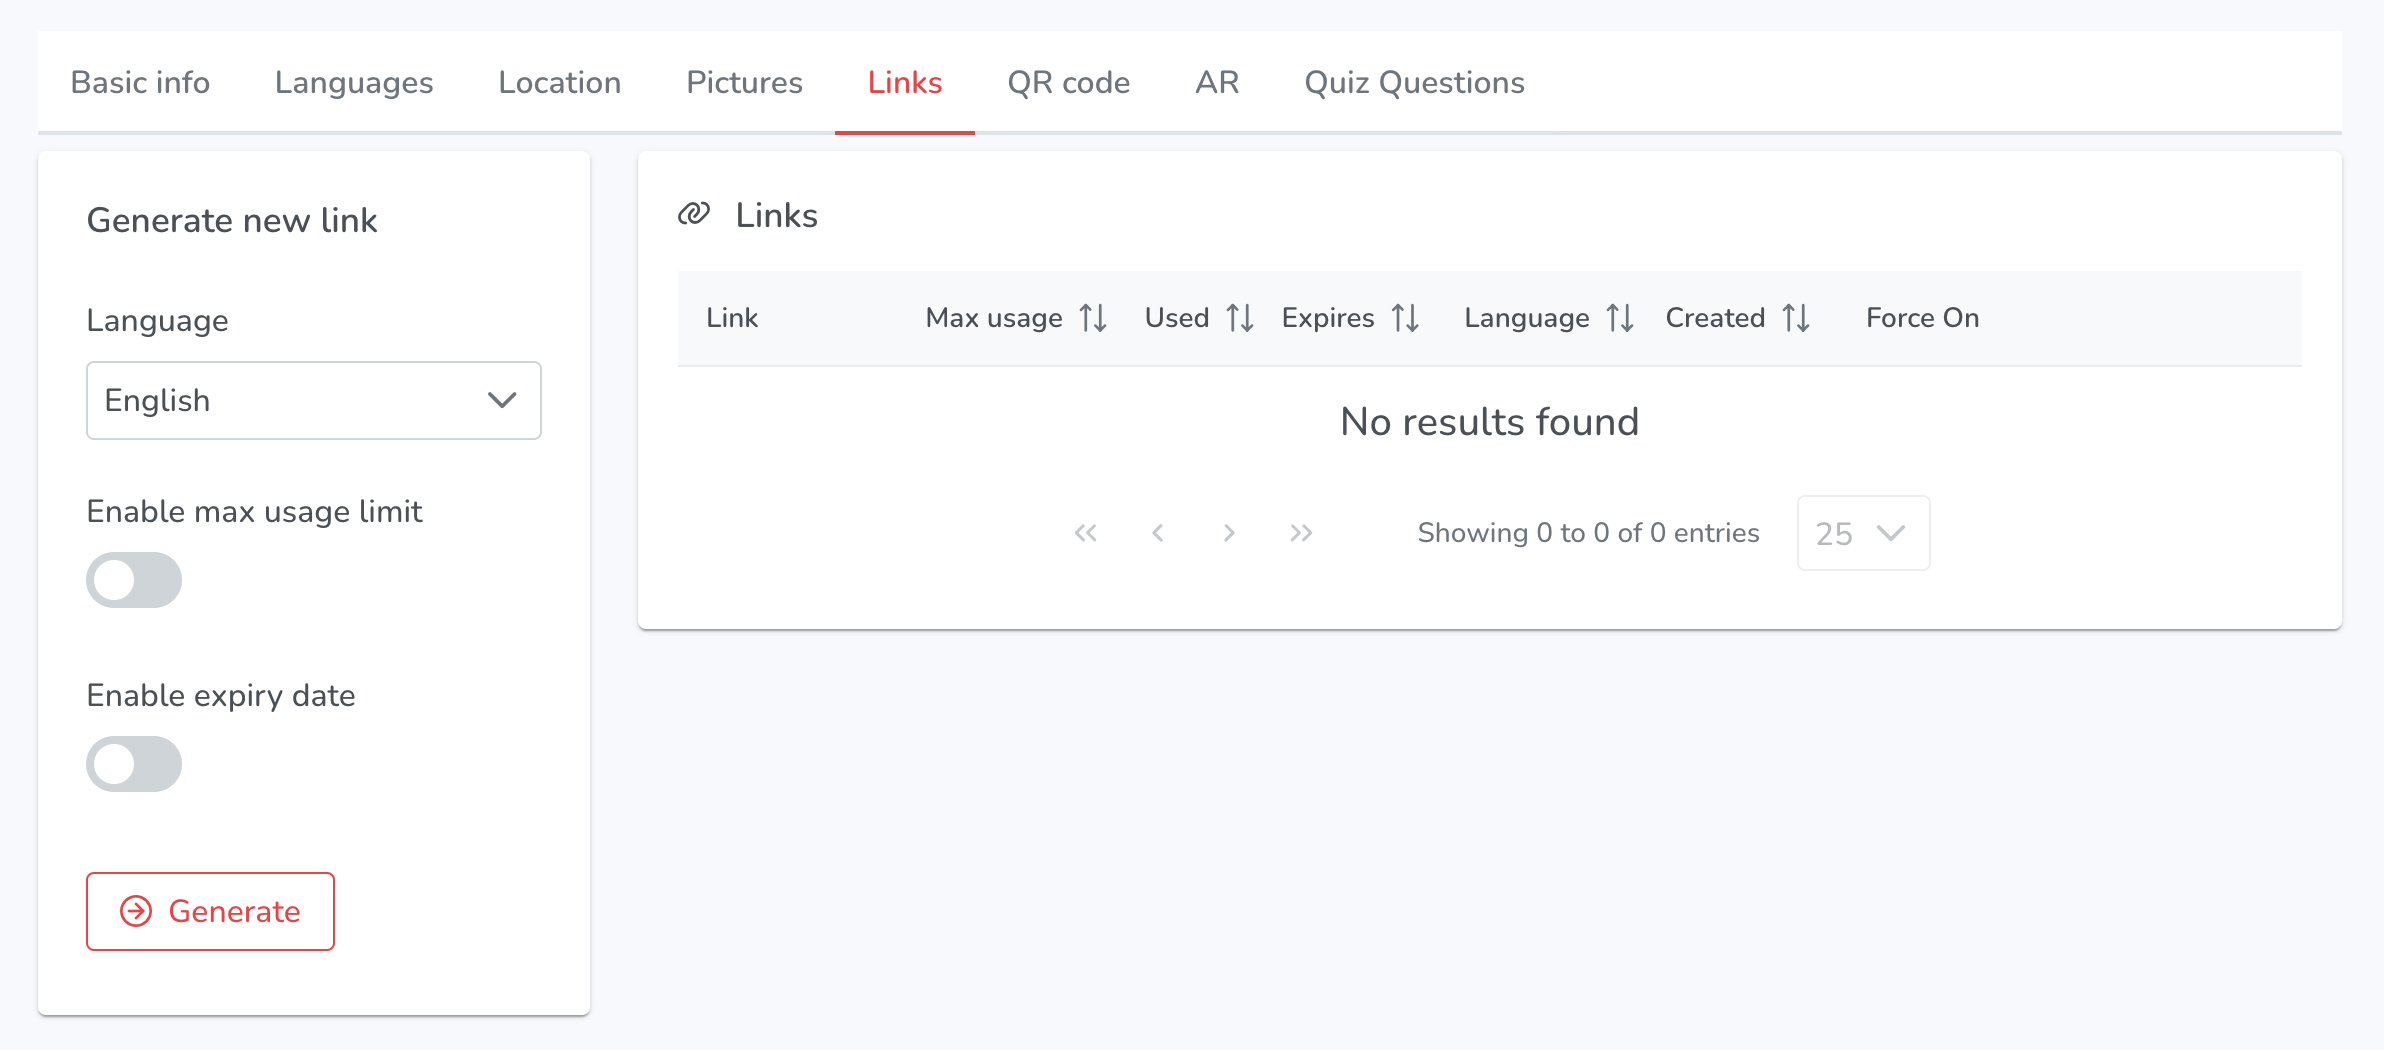
The Links section provides options for creating and managing links to Voice of Norway content:
- Language: Users can select the language for the link.
- Enable max usage limit: Users can set a limit for the number of times the link can be accessed.
- Enable expiry date: Users can set an expiration date for the link.
- Generate: Users can generate the link and copy it to the clipboard for sharing.
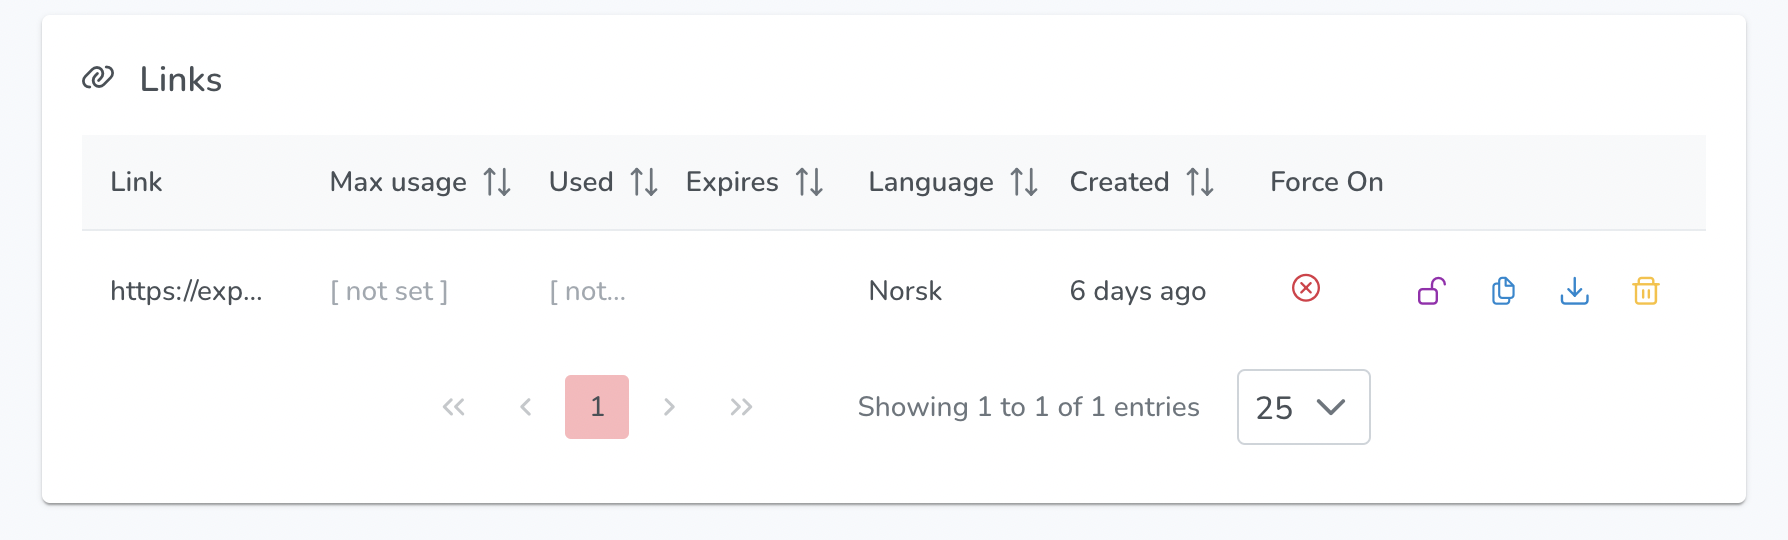
When a link is created, the platform displays the following columns:
- Link: The generated link for accessing the content.
- Max Usage: The maximum number of times the link can be used.
- Used: The number of times the link has been used.
- Expires: The expiration date of the link.
- Language: The language associated with the link.
- Created: The date and time when the link was created.
- Force On: An indicator/button to override all expiry settings for the link.
In addition, users are presented with the following indicators/buttons for each link:
- Force On Button: Allows users to override all expiry settings for the link.
- Copy to Clipboard Button: Copies the link to the clipboard.
- Download QR Code Image Button: Downloads the QR code image associated with the link.
- Delete Button: Deletes the link from the platform.
¶ QR CODE
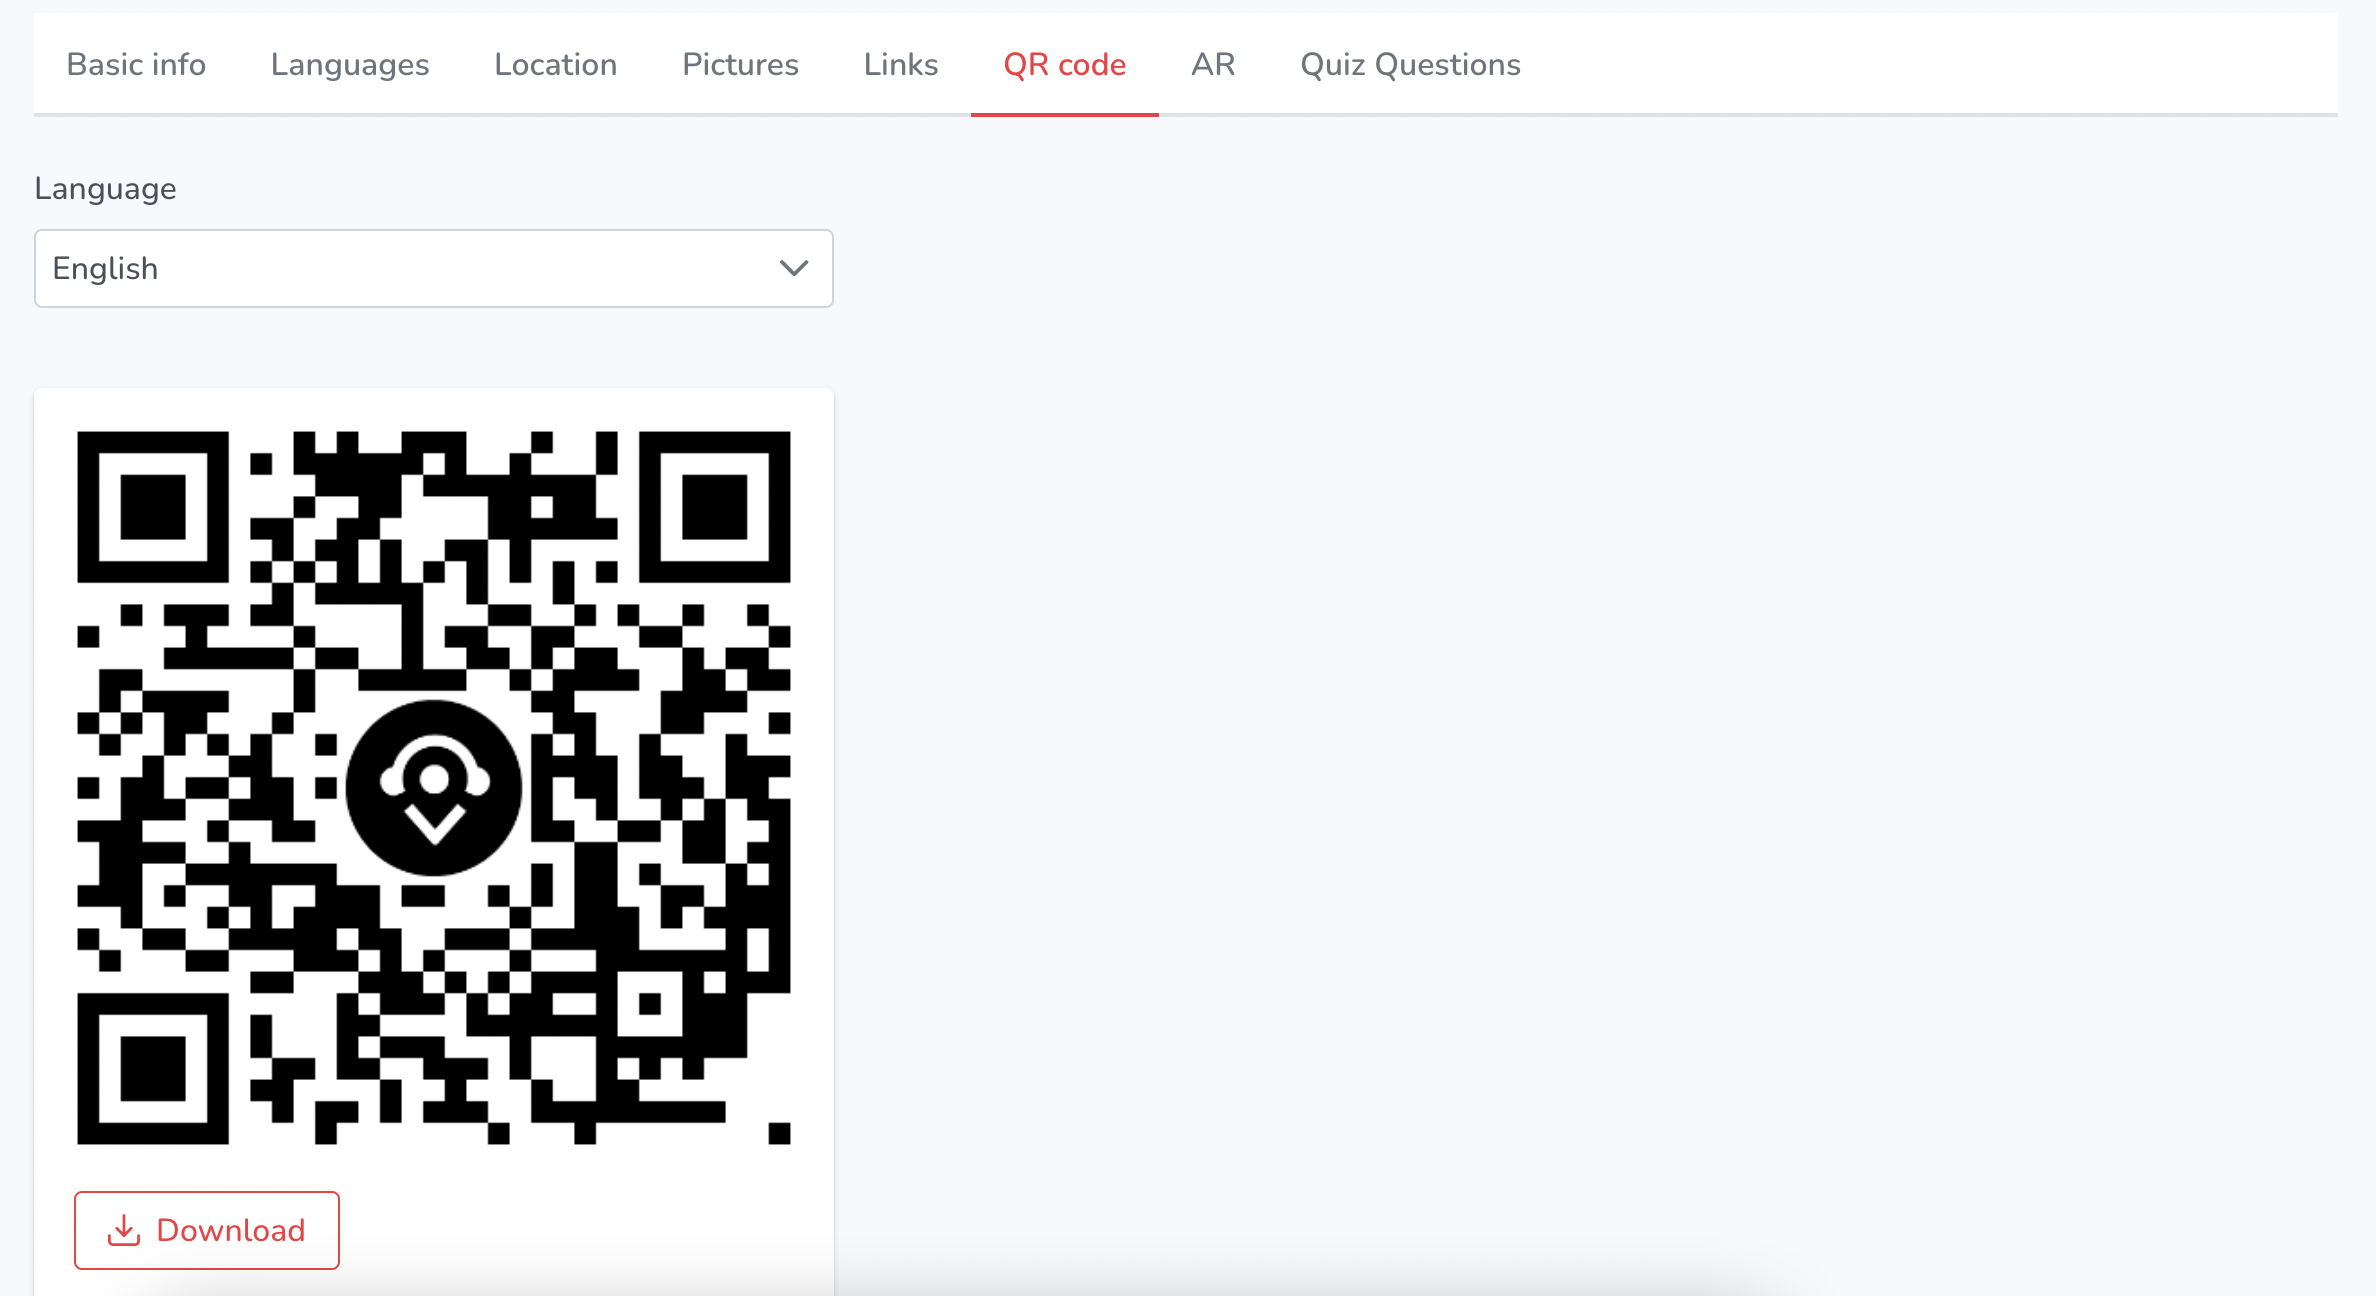
The QR Code section allows users to generate and download QR codes for their points. It includes the following options:
- Language: Users can select the language of the generated QR code.
- Download: Users can download the QR code as a PNG image file.
¶ AR
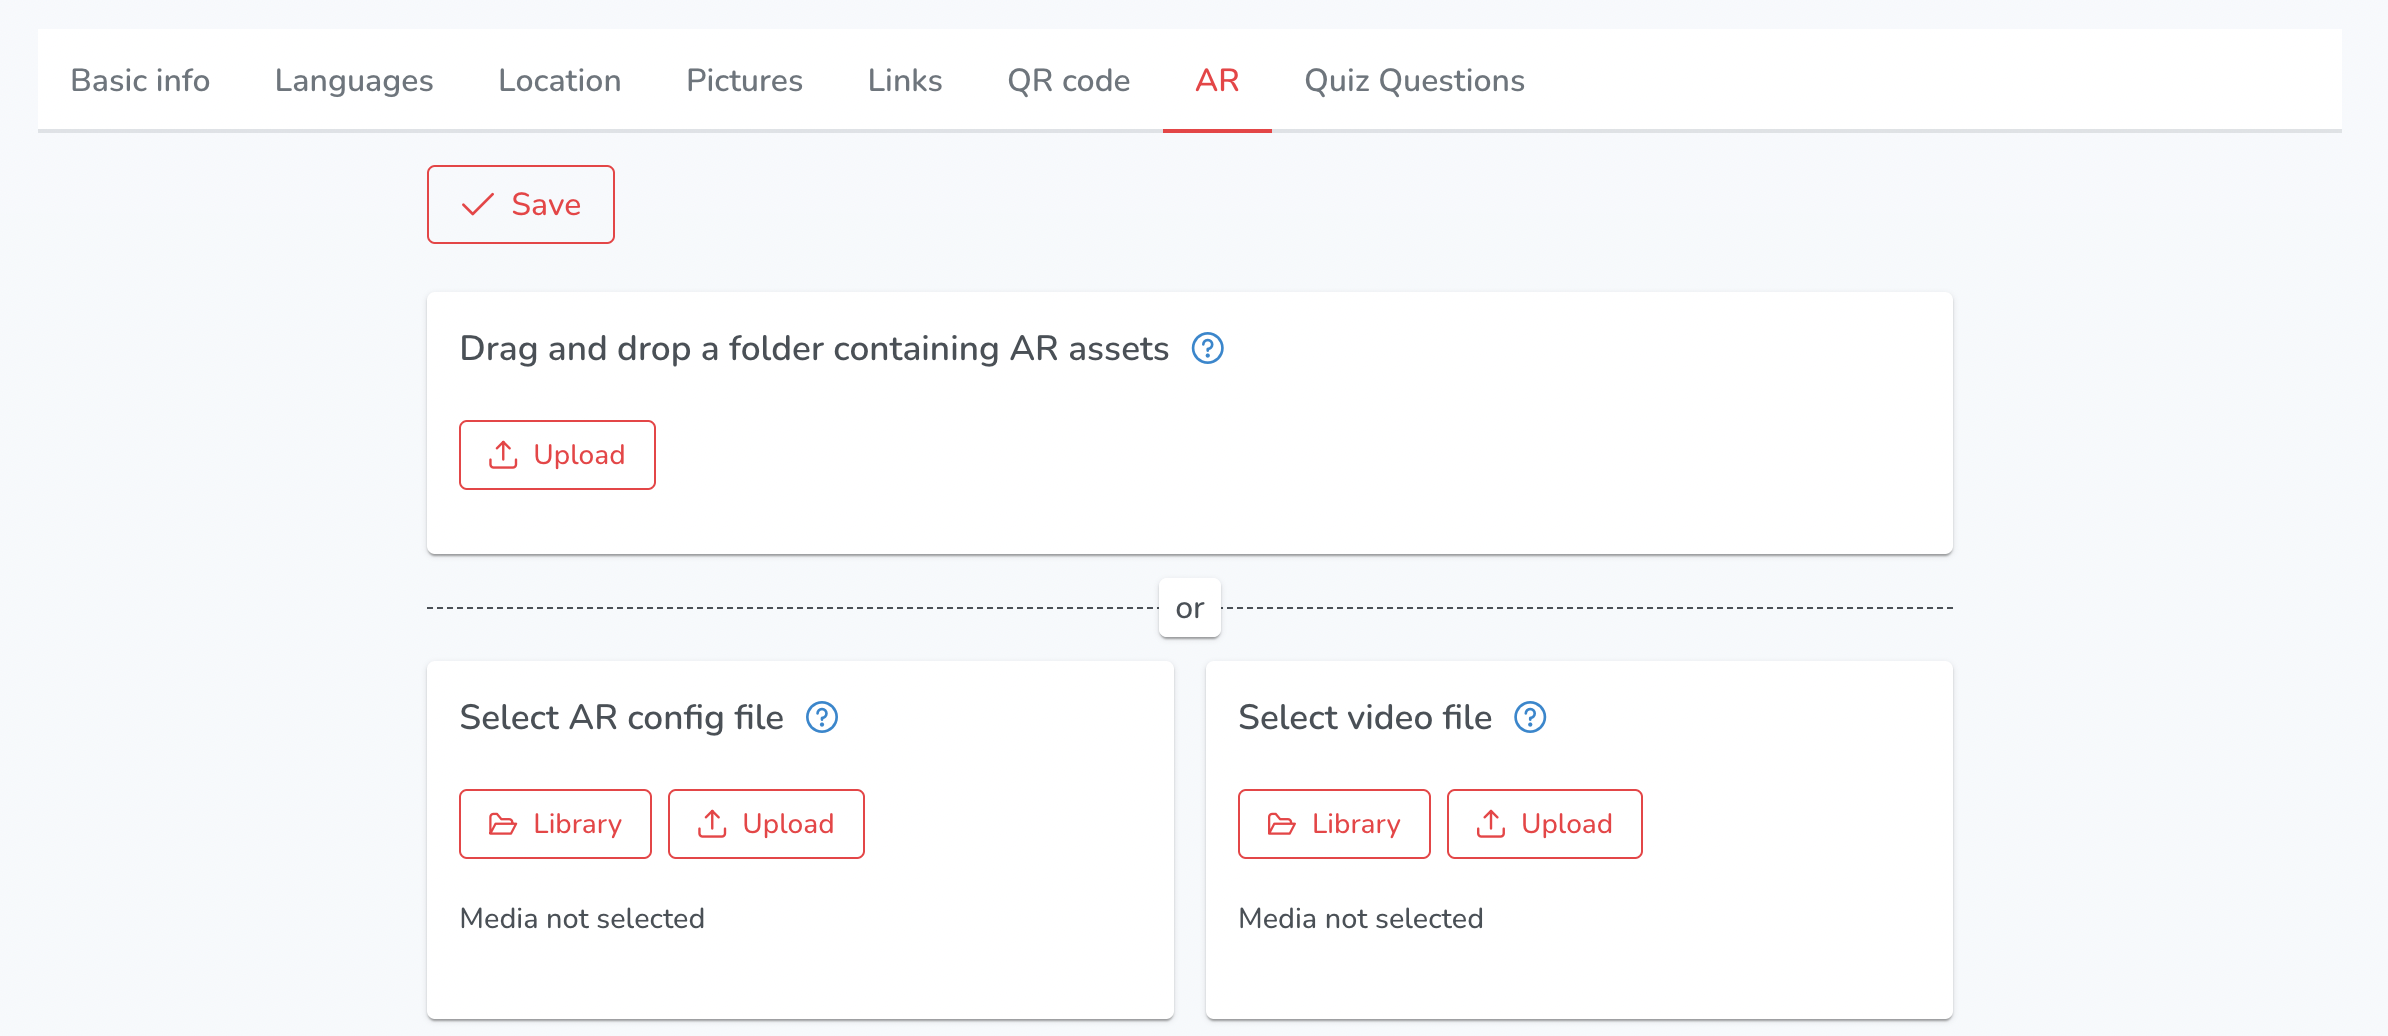
Save - Users can save changes made to the AR files.
Drag and drop a folder containing AR assets - The folder should contain a configuration .json file, a video .mp4 file and .assetbundle files
- Upload - Users can upload files from their device or other sources such as Google Drive, Dropbox, and Unsplash. They can also use the drag and drop function.
Select AR config file - File used to configure AR video on this point
- Library - Users can access a media library to select and upload files.
- Upload - Users can upload files from their device or other sources such as Google Drive, Dropbox, and Unsplash. They can also use the drag and drop function.
Select video file - AR video file to be displayed on this Point
- Library - Users can access a media library to select and upload files.
- Upload - Users can upload files from their device or other sources such as Google Drive, Dropbox, and Unsplash. They can also use the drag and drop function.
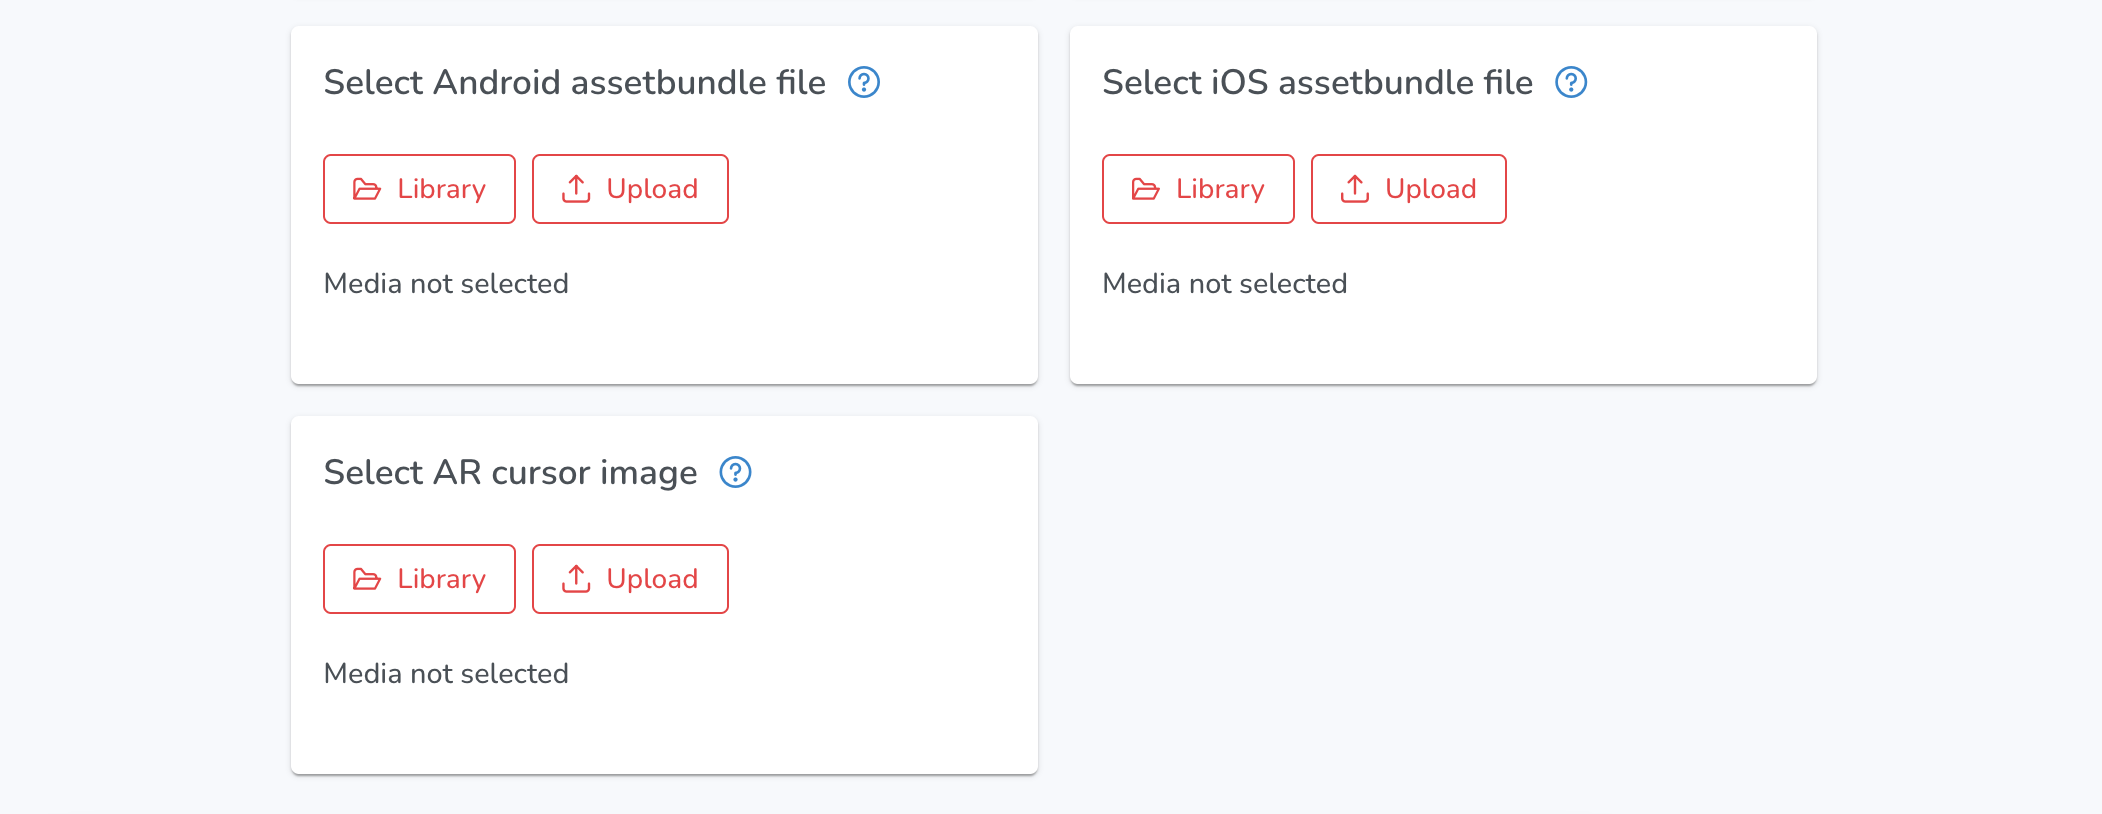
Select Android assetbundle file - Asset bundle files to be used on Android phones
- Library - Users can access a media library to select and upload files.
- Upload - Users can upload files from their device or other sources such as Google Drive, Dropbox, and Unsplash. They can also use the drag and drop function.
Select iOS assetbundle file - Asset bundle files to be used on iOS phones
- Library - Users can access a media library to select and upload files.
- Upload - Users can upload files from their device or other sources such as Google Drive, Dropbox, and Unsplash. They can also use the drag and drop function.
Select AR cursor image - Custom image that will be used as AR cursor (indicator on where AR experience will play)
- Library - Users can access a media library to select and upload files.
- Upload - Users can upload files from their device or other sources such as Google Drive, Dropbox, and Unsplash. They can also use the drag and drop function.
¶ QUIZ QUESTIONS
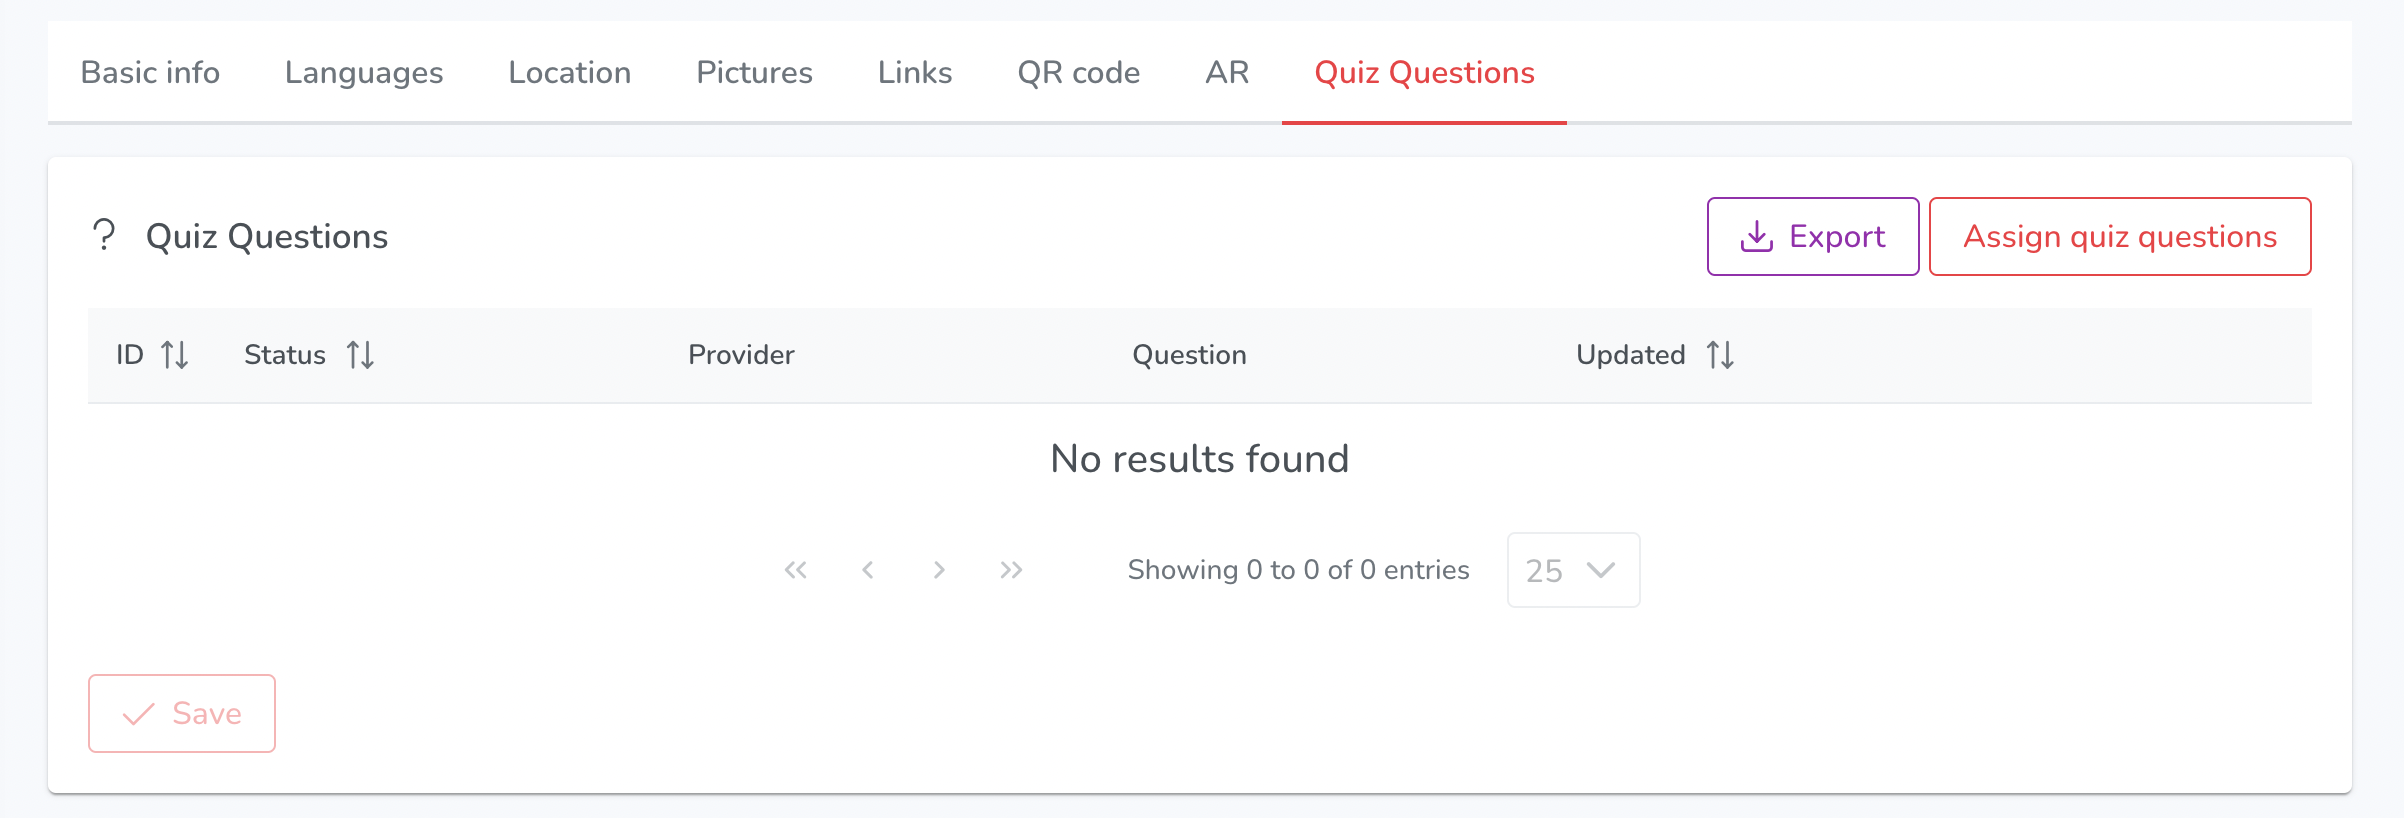
The quiz questions section within the points part of the platform provides the following functionalities:
- Export: Allows exporting the quiz questions in a specific format.
- Assign Quiz Questions: Enables assigning quiz questions to a particular point.
- Save: Saves any changes made to the quiz questions.